-
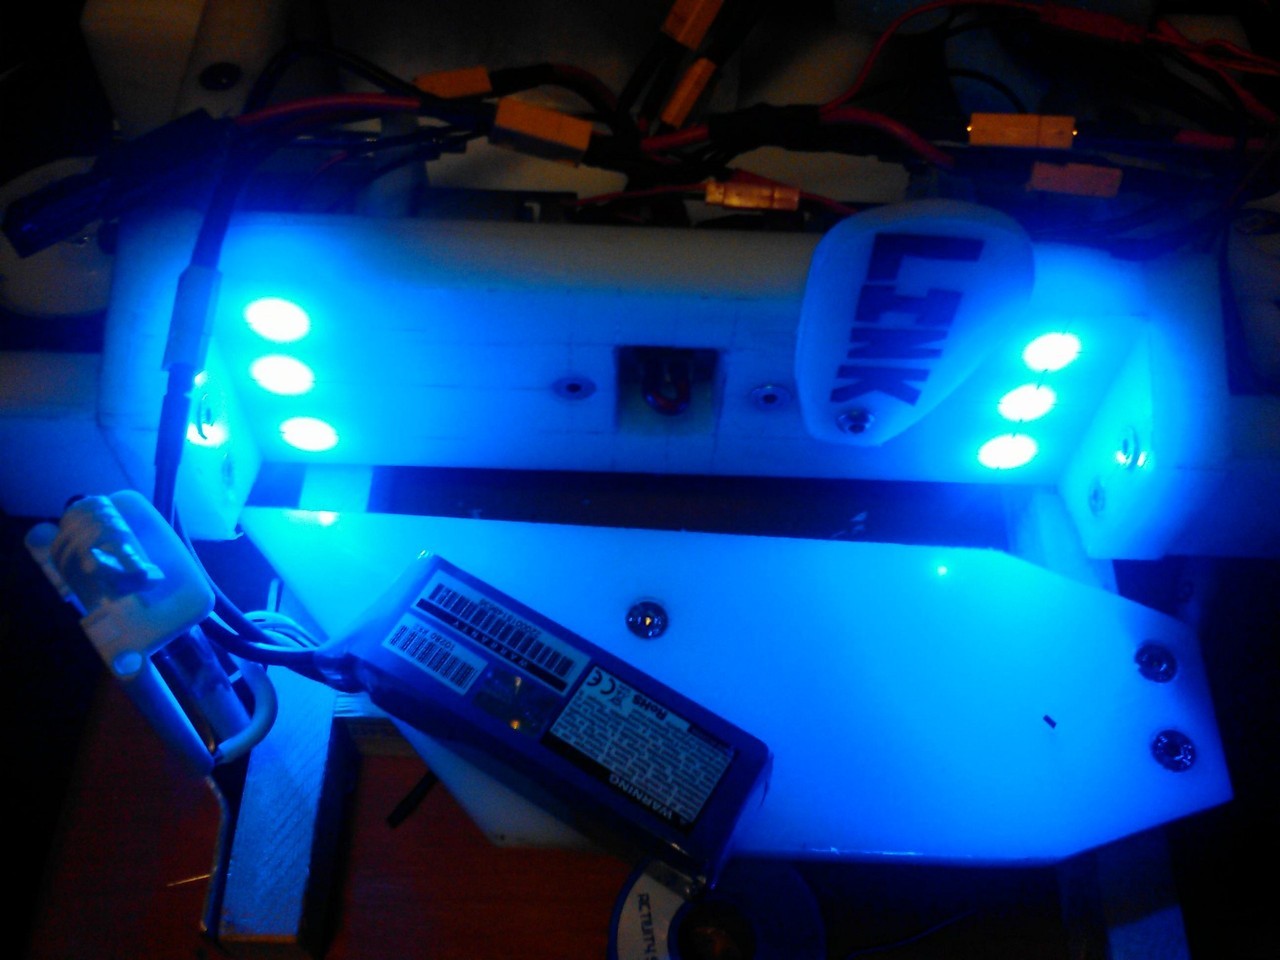
Our LED strips on Elevate were making so much heat we thought they would set the batteries on fire! -
So after some thinking I felt that the light dimming needed to be addressed despite other roboteers on facebook saying it should be fine. And sure enough it was a simple problem and a simple solution. Basically the LEDs where under voltage due to running them in a series that required 19 volts and I'm running CSB on 16.8 volts at full charge from the 4cell lipo battery. In order to fix the issue I simply bought some resisters that could help run the LEDs in two parallel sets of 3 and after a afternoon of rewiring the LEDs CSB's lights barely dim and are far brighter now.
Leave a comment:
-
Thanks for the response Paul, from what you and others on facebook have said. It looks like the motors are drawing some currentOriginally posted by PaulusSmallus View Post
away from the LEDs but has they still function fully when the robot is still they'll be fine.Leave a comment:
-
Firstly, I am not an expert in building robots, so someone may have a much better suggestion.
LED dimming
When you put a lot of power into the motor (AKA gunning it), you will draw lots of current.
When the robot is on the floor, the motors have to do more work than sitting on a bench (its got to drive around and move its own weight when it is on the floor) so they will draw more current.
When you draw current from the battery, the voltage of the battery will drop due to its internal resistance. So it makes sense that your LEDs will go slightly dimmer when you are driving around. However, a LiPo battery has a very low internal resistance so I would guess it should be fine?? (someone with more experience may know).
What batteries are you using? Are you pushing their capabilities?
Thinking about it more, there could be a high resistance in a connector or solder joint somewhere between the battery and where the LEDs break out (this would have the same effect as resistance in the battery).
Motors Twitching
I am not sure why the motors would be twitching. Maybe try adding a small deadzone on your controller and see if it helps? (sorry for not being much help)
Mysterious clicking noise
When you plug in the removable link it may create a small spark between the contacts. This may be what you are hearing. Is it one click? Or a series of clicks?
Footnote: The spark is caused by the capacitors in your ESC charging up and drawing lots of current. You can get anti-spark connectors to stop it sparking (there are some XT60 ones, not sure about other connectors). In my experience, as long as you can't see a lot of black/dark areas in the contacts where it has sparked, you should be fine (if you see anything, you can always post a picture).
I hope this helps, just let me know if you want me to explain something better.Leave a comment:
-
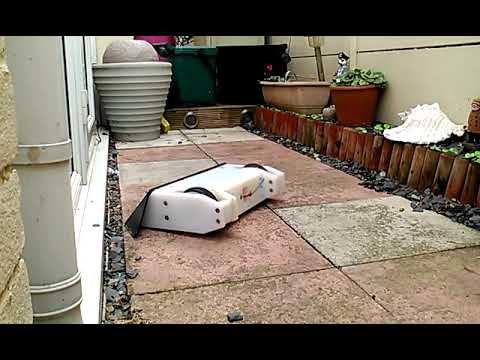
I recorded the test drive but I noticed that the lights were dimming when I gunned the drive. I did a bench test and couldn't understand why that is doing that. I then found that my motors twitch when I arm up plus there seems to be a clicking noise when I insert the removable link. any ideas why I'm encountering this?
Leave a comment:
-
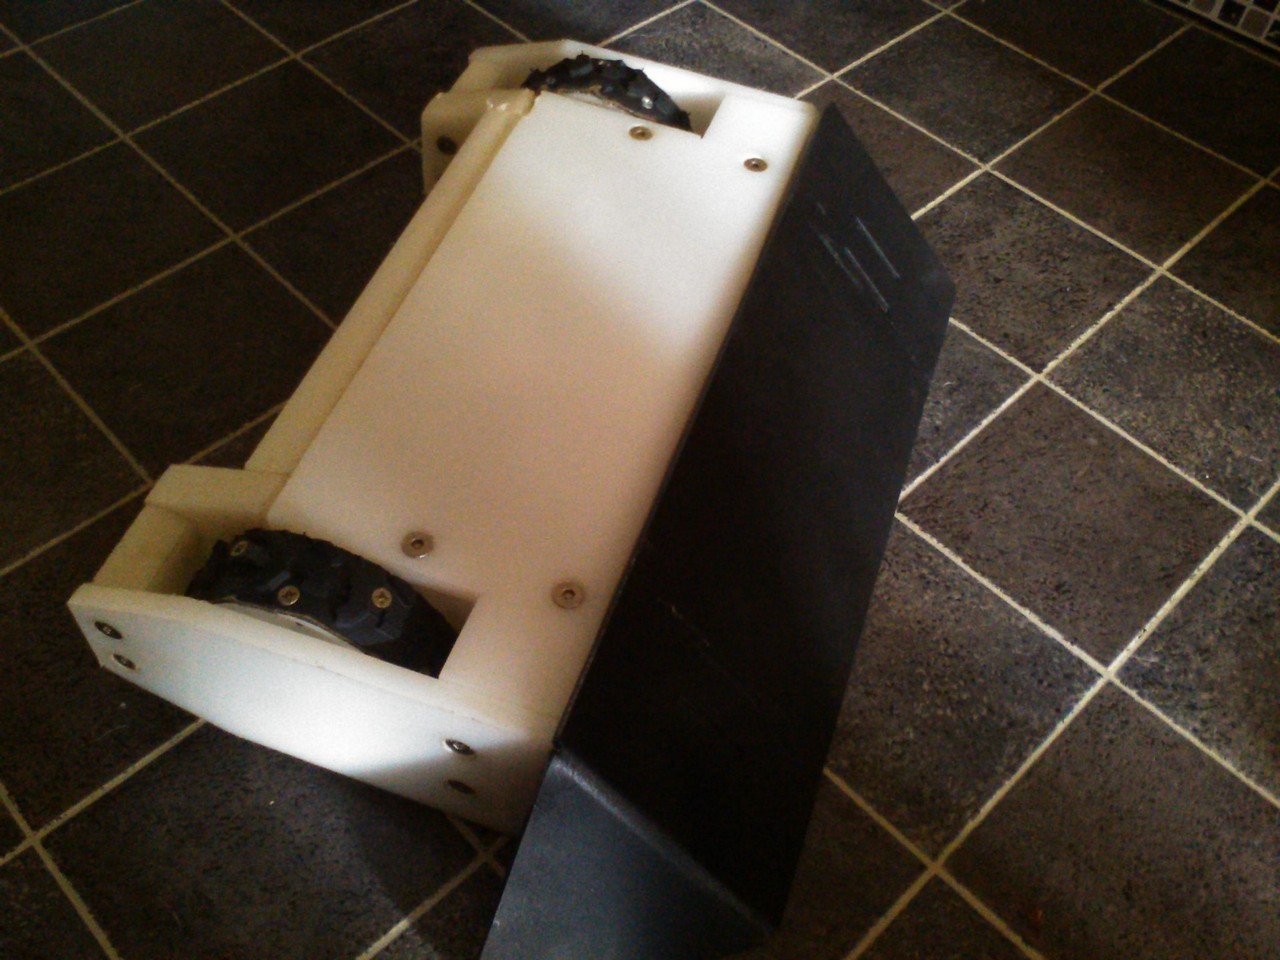
Today was a rush, paint dried, wedge bolted on, internals installed, battery charged. Tomorrow morning Coolspeedbot will be given a full test drive as a complete robot. Some little bits to do but CSB is basically complete.

Leave a comment:
-
The front wedge has been welded and is currently having its paint dry.

Leave a comment:
-
I've made a big step on CSB today, the hardox wedge arrived from K-cut I just need to file the slots, tabs and holes smooth.
Leave a comment:
-
Yeah I knew most of that, it just happens to be that my soldering iron was hot enough to do that. But thanks for the video though a handy reminder.Originally posted by PaulusSmallus View PostLeave a comment:
-
The robot is looking really good
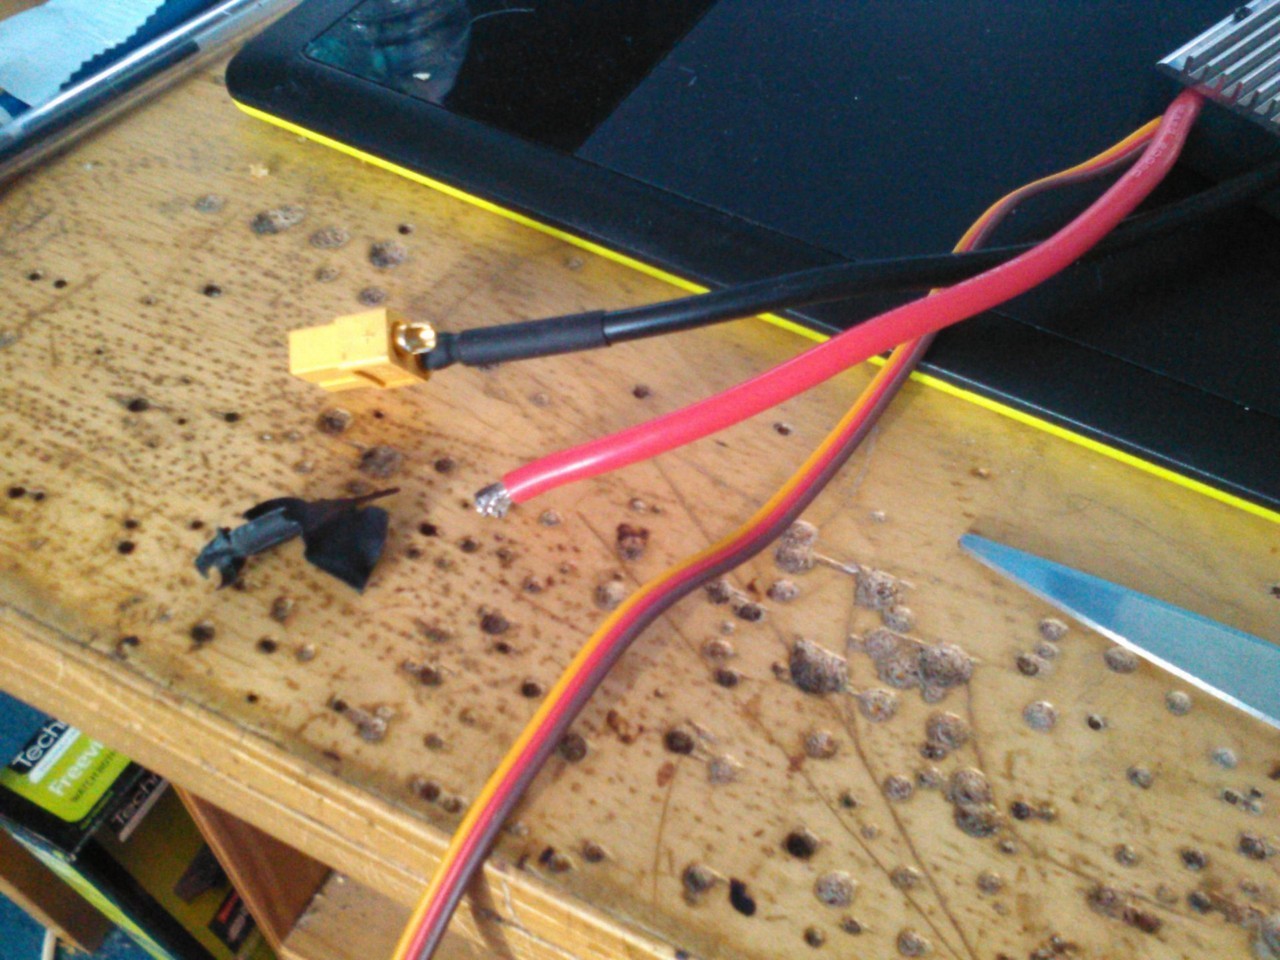
When you are soldering the XT60 on, remember to tin the connector first (put some solder on the connector and the wire), put some flux on the joint, then melt the solder you put on and let the wire slide into place.
this video is good: https://www.youtube.com/watch?v=mH32jwFc8Js
Sorry if you knew this already, this is just something I found useful to know.Leave a comment:
-
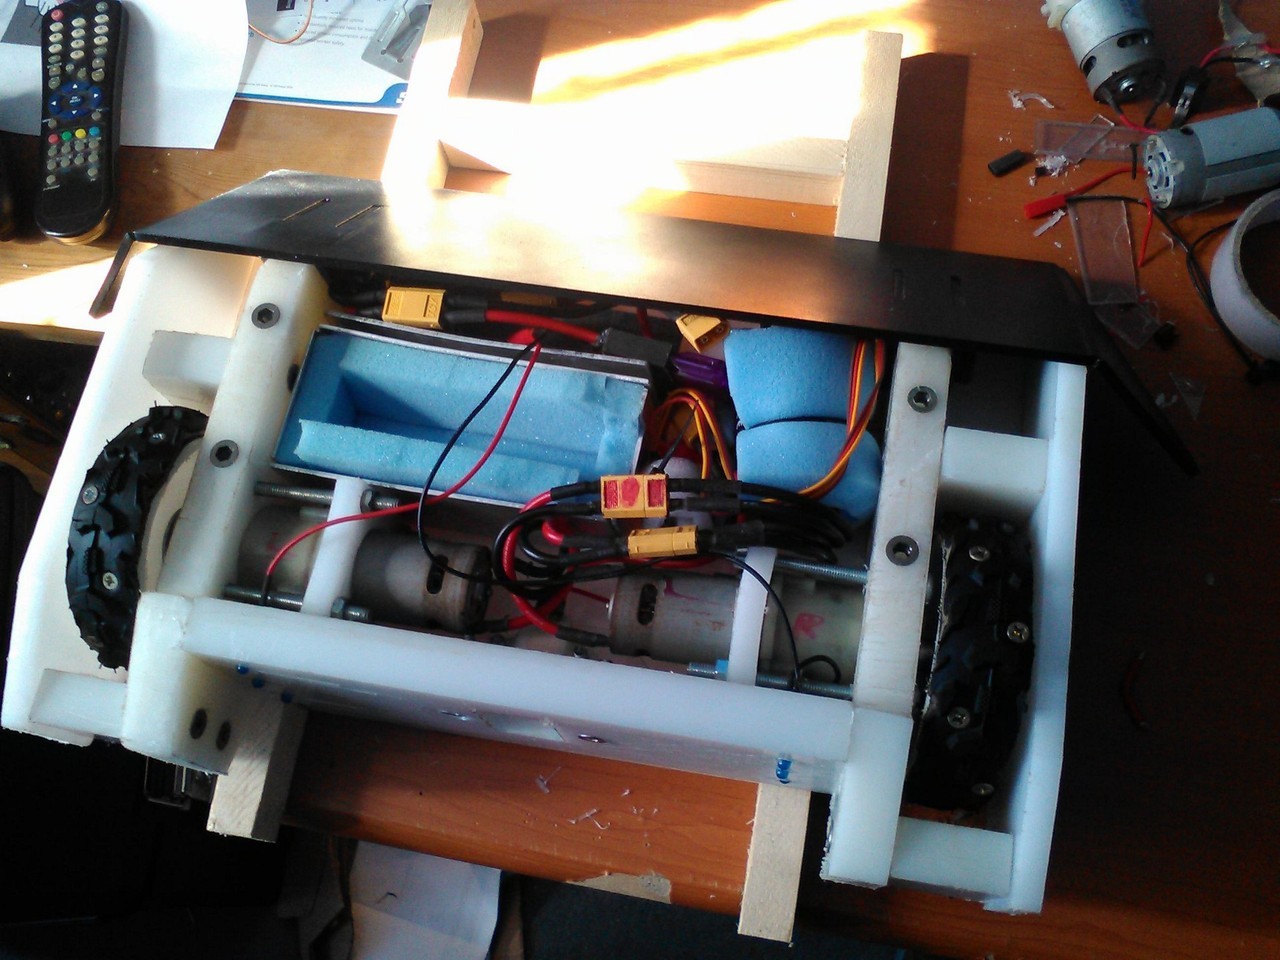
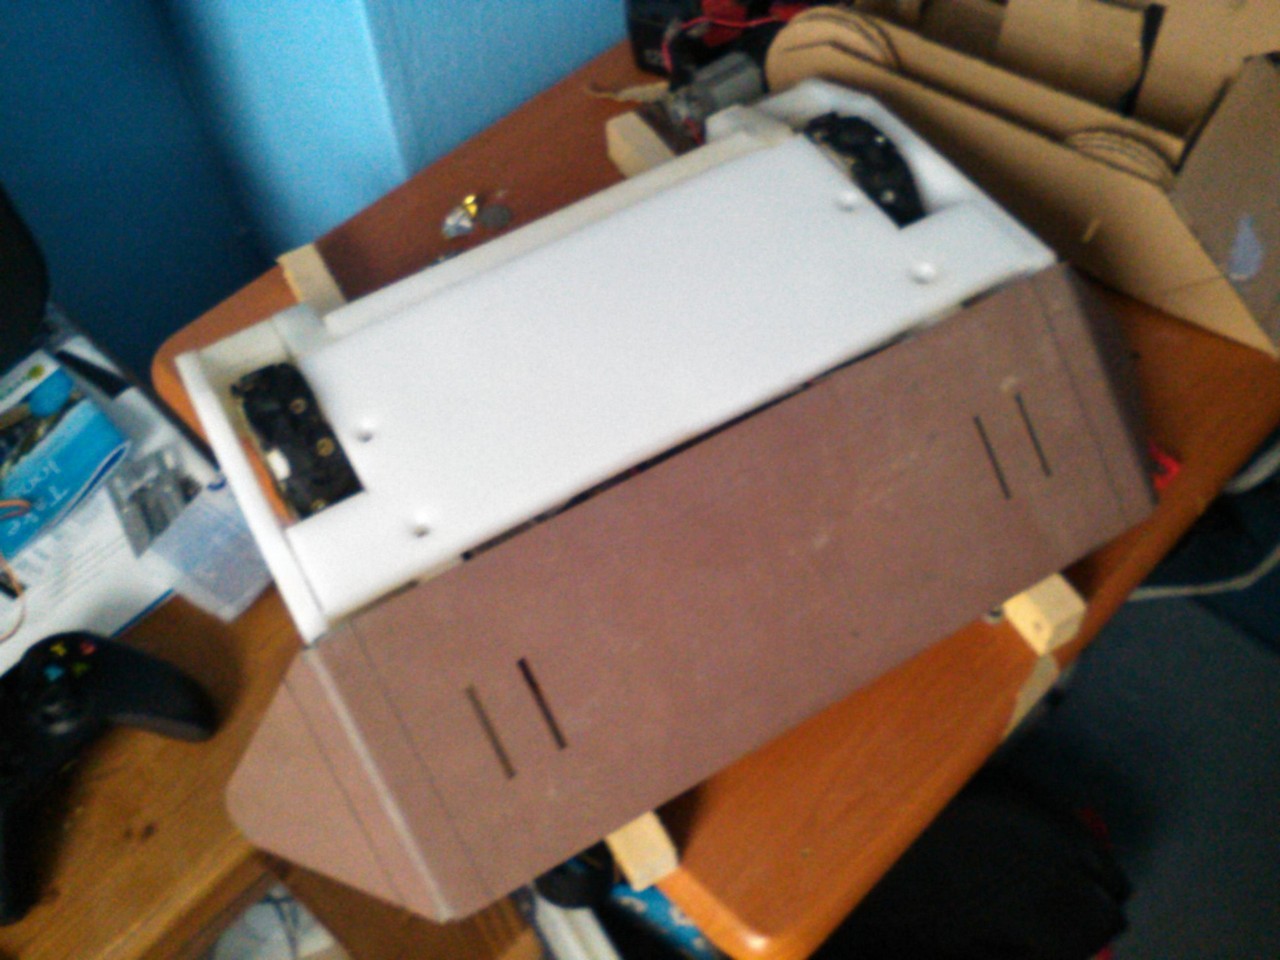
Wow it's been a while hasn't it. Time for a update, after finally getting a new job I was able to get funds for my robots and bought a load of parts for CSB, ranging from wires, connectors, aluminium sheet, foam and Lipo battery to name a few.
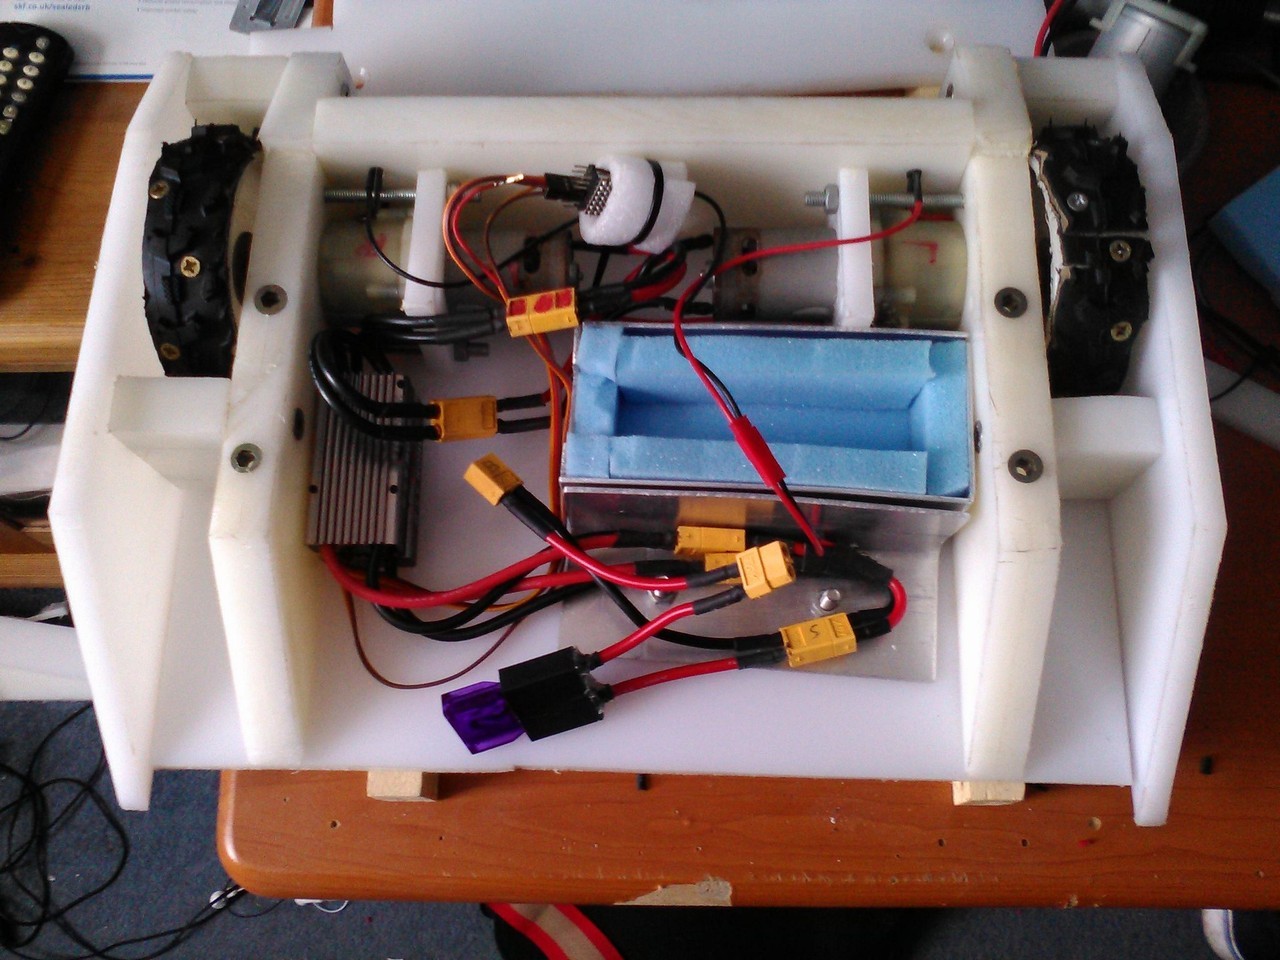
Earlier today I finally did a test run of the bot with it's new battery (and fuse) safely stored in it's aluminium box with foam padding.

I did a test outside just to make sure everything was fine before I came in and filmed a test inside. However as you'll see in the video the power lights started to play up, I later discovered my solder points had actually broken in places. I've bought a new soldering station to rectify the weak joints made by low temperatures of the old soldering iron which has decided to clap out a hour ago.
Leave a comment:
-
Oh ok, so I think I'm on ball with tolerances from what you've said. ThanksLeave a comment:
-
Yeah all my holes for waterjet are 1mm bigger than required so they are a good clearance fit. The tolerance is caused by the kerf of 0.5-0.7mm for 4mm thick steel. If its thicker you might need more clearance. If they are too small you just ruin a bunch of bolts. Small holes tend to not be very round (<5mm).Leave a comment:
-
I can't say much about slot and tab panels, but I've found that the dimensions on my watercut wedge/flipper are at max 0.7mm greater than I expected them to be. Most of the dimensions are about 0.5mm greater.
Also, yeah for smaller holes like 6mm, I would make them a bit larger. I would maybe go 6.5mm - 6.8mm? I can't say for sure, but I made all mine 6mm in my CAD and the bolts didn't quite fit.
A 10mm hole should be fine at its normal size - is this for a bolt or a rod?
CAD is looking very nice!Leave a comment:
-
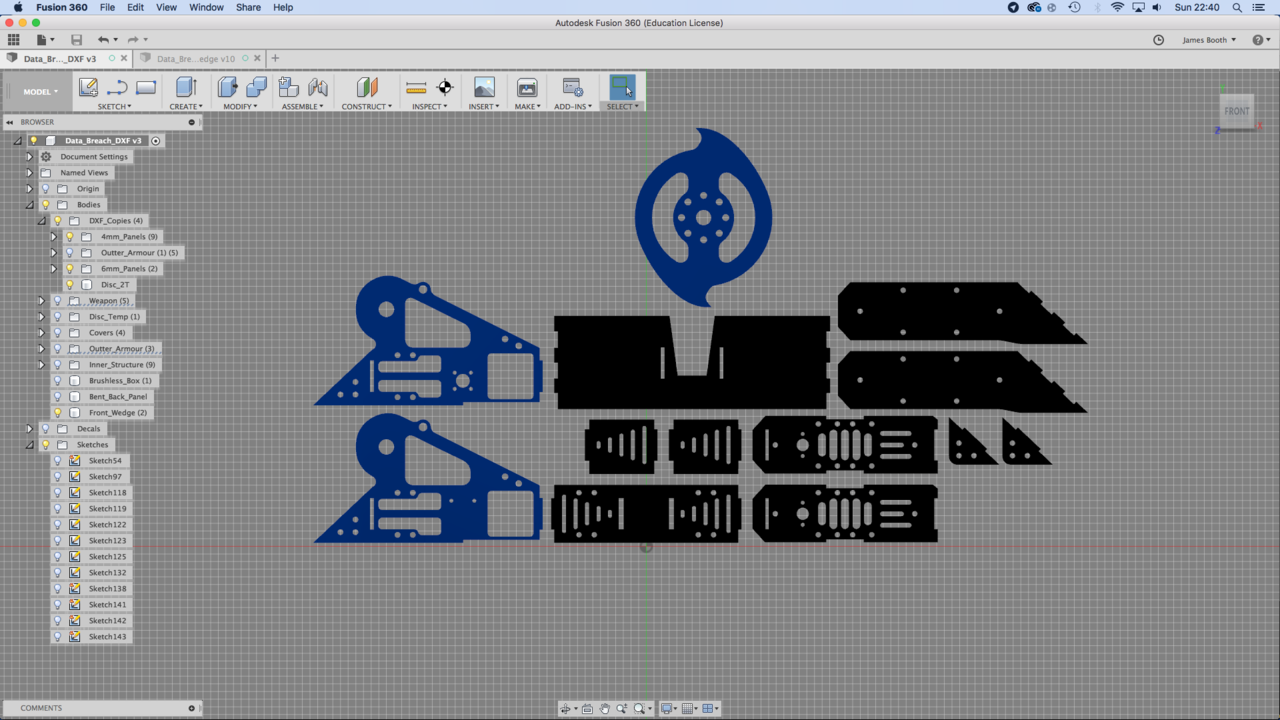
Fancy render with the logo in view.
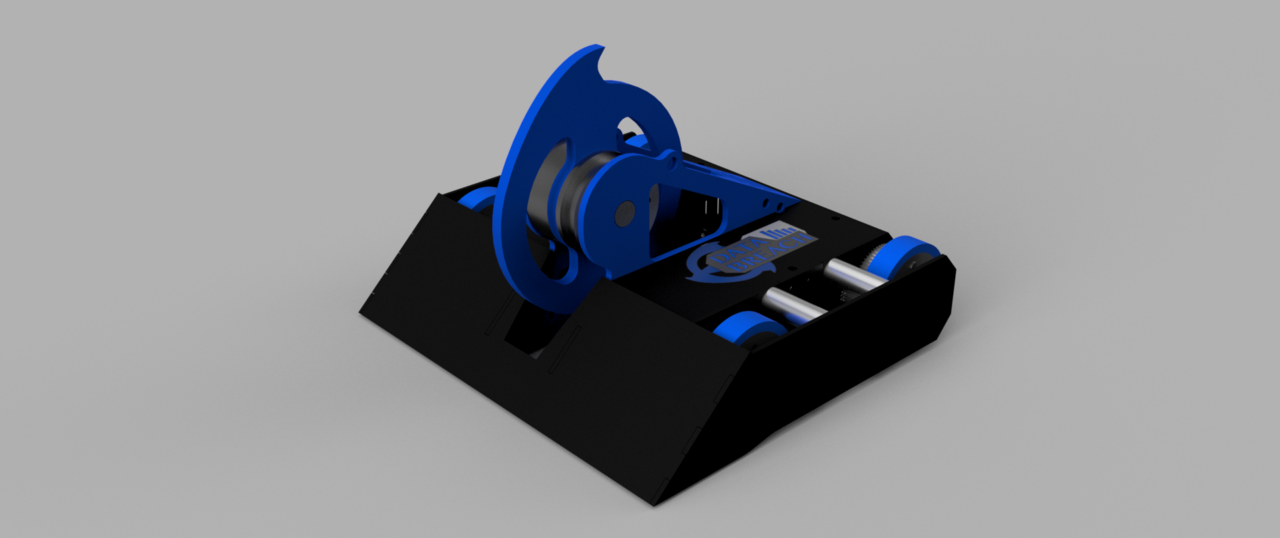
So I’ve had a go with adding tolerances to the parts adding 0.5mm round the outside edges for water cutting. Could do with advice from people who’ve done slot and tab panels to check if my tolerances are fine.
Leave a comment:
Leave a comment: