Originally posted by daveimi
View Post
-
Yep, that's it exactly. Those are both great!Originally posted by Coolspeedbot View PostLeave a comment:
-
I've done the same with Luna-tic, plenty of wobble but I've allowed plenty of wheel clearance and to be fair you don't notice when it's bolting around. Ellis's videos have helped me tremendous with building. Hats off to the lad.Leave a comment:
-
There really isn't any, the drill shaft I use to hold the nut when I heat it and press it in has a section I can use to align against the bore to keep it straight as it cools.Originally posted by TeamPsyclone View PostLeave a comment:
-
Considering you made them without a pillar drill, how much wobble do the wheels have? I was tempted to do this myself, but wasn't sure how well it'd turn out.Leave a comment:
-
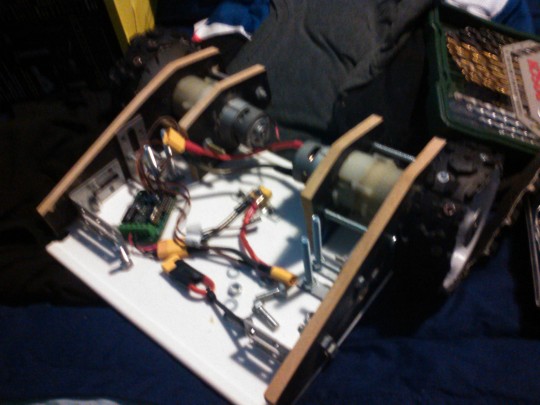
Popped over to my local Halfords and got a bike tyre for tread to add to the wheels.
Leave a comment:
-
I followed this guide by Ellis but without a pillar drill: https://www.youtube.com/watch?v=AcII...cEveUFO_-4neUo
I used a old drill motor shaft fitted into a drill chuck and pressed the heated nut in.
I got my nuts here: http://www.ebay.co.uk/itm/1811604491...%3AMEBIDX%3AIT
They are 3/8 unf hex nuts.
yes I'm watching a lets play as I work.Leave a comment:
-
Oh wow how did u melt the nuts in and where did you get them? I've not been brave enough to try yet lol. Is that a cheeky bit of gta going on there :PLeave a comment:
-
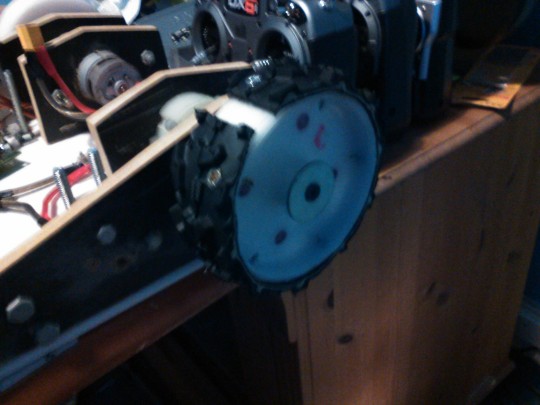
melted the nuts into the spare wheels and also sanded down the wheel ready for the tire tread.

Leave a comment:
-
The first is better. Alex is on about the same as i was, not presenting something for a spinner to chew on i.e a sharp edge.Leave a comment:
-
I see, well there is no harm in having spares.Originally posted by Andy View PostLeave a comment:
-
With armour its just as much about thickness as it is the angle and how its mounted.
Shock mounting is becoming more common as spinners get even more powerful; there was a time 5mm mild was good enough in a HW, now you couldn't even use that in a FW.
You never want to present a corner for a spinner to peel away at. 90 degree corners are bad, 120 is pretty good, 135 is great. Of course all of that is relative to the shape/design of your robot.
https://66.media.tumblr.com/4f879d6a...nf23o1_540.png
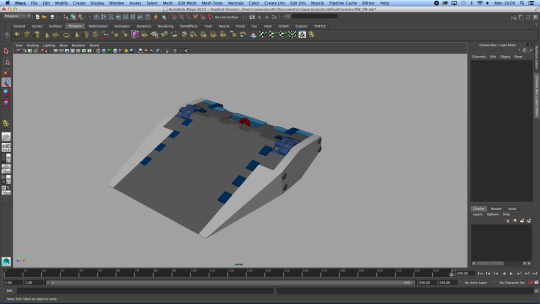
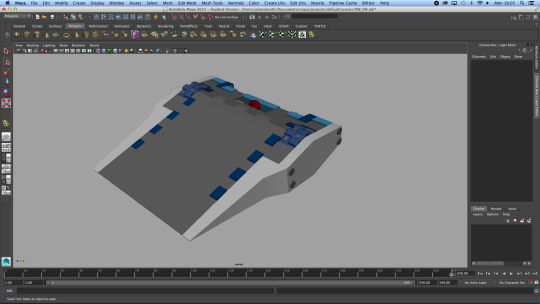
The wheel covers here are great, nice chamfers and nice and thick. The sides of the wedge... not so much. If you extended the HDPE down the side of the robot to prevent spinners peeling up your top and bottom Hardox, that will reduce that issue significantly. If you consider the sides consumable and have spares then you can have a spinner chew on that edge for 3 minutes and the just replace it.
As a first design goes, its pretty good. Well iterated and it looks strong, with internal space for a weapon down the road.Leave a comment:
Leave a comment: