Yes, I'll be using bolts with barrow nuts for the frame and another kind of nut for the wheel covers I still trying to find the correct name of. I added the placements to the design.
Screen Shot 2016-11-06 at 14.49.59.png
-
Looking good - so you've got an idea of where your attachment points are and what fixings you'll be using?Leave a comment:
-
So after I made the mock up of Wolf-E I was able to better identify where the design was not working and I soon did a edit to the digital design. The main issue was that the frame was not fully designed with the method of how they was going to be bolted together.
Screen Shot 2016-11-06 at 01.42.36.pngScreen Shot 2016-11-06 at 01.47.48.pngLeave a comment:
-
added the front cross section of the frame and attached the base to it. Might have to use a thiner base and top plate as it might beach the robot. Fun fact my step-dad thought that I was going to enter this in events, not realising this is the wooden prototype of Wolf_E.
Leave a comment:
-
I tried to remove them once but failed. The sleeves actually help keep a snug fit on the mounts.
But thanks for letting me know.Leave a comment:
-
Just a heads-up, you can remove those 'flux guards' or whatever, those sleeves that fit over the motor. You just need to lift one side up near where the gap is and then pull them off, as they have a little nub on the inside which fits into the motor casing. Or you can leave them on if you want, it's up to you. I just find it makes it a little easier to mount the motors.
Leave a comment:
-
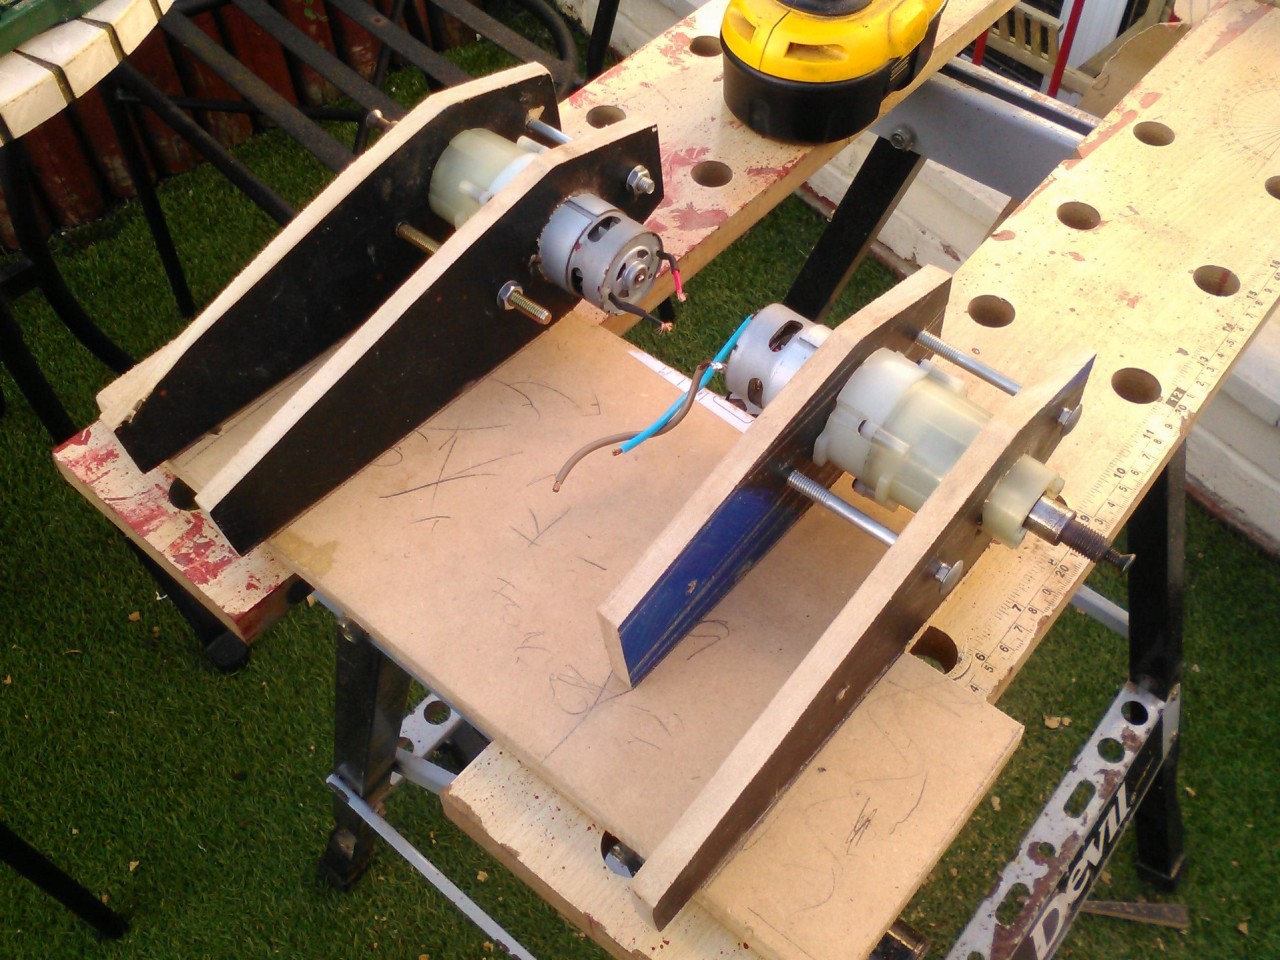
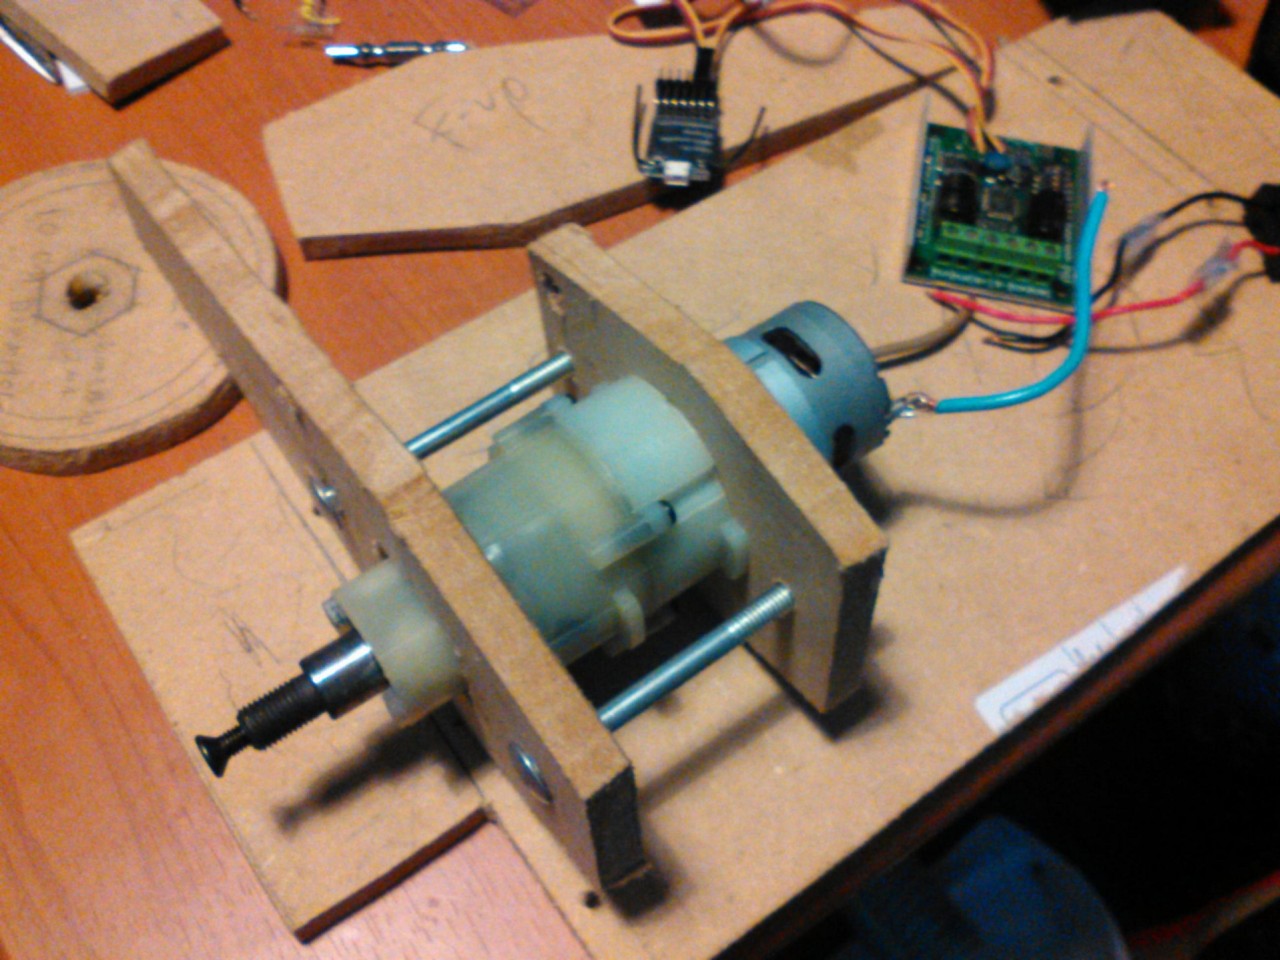
Did four hours of work to produce better motor mounts for my mock up of Wolf-E, now I'll just fit them to the base.
Leave a comment:
-
So I finally got more of a update on Wolf-E, I decided that I would treat Wolf-E as a learning curve so I have chosen to use cheaper 12volt drill motors from argos. I finally hacked them and got them ready for use. I had a test mount made to see how it will fit into the robot.
Leave a comment:
-
I see, cheaper and still within what I'm looking for, Thanks for the suggestion.Originally posted by R9000 View PostLeave a comment:
-
I bought all my drills new, these are the ones I used.
http://www.ebay.co.uk/itm/Heavy-Duty...-/391523566523
They're not bad at all.Leave a comment:
-
So it looks like my uncle's drills have become spare parts (metal gears and motors), and a example of what drills I should avoid, ones with 2 speed settings and hammer built in.
thinking of getting this instead:
http://www.homebase.co.uk/en/homebas...r---18v-623805
which might be handy, my dad has one so hopefully he might donate it to my robot building.Leave a comment:
-
Update on progress:
Finally moved back home and some real work can start.
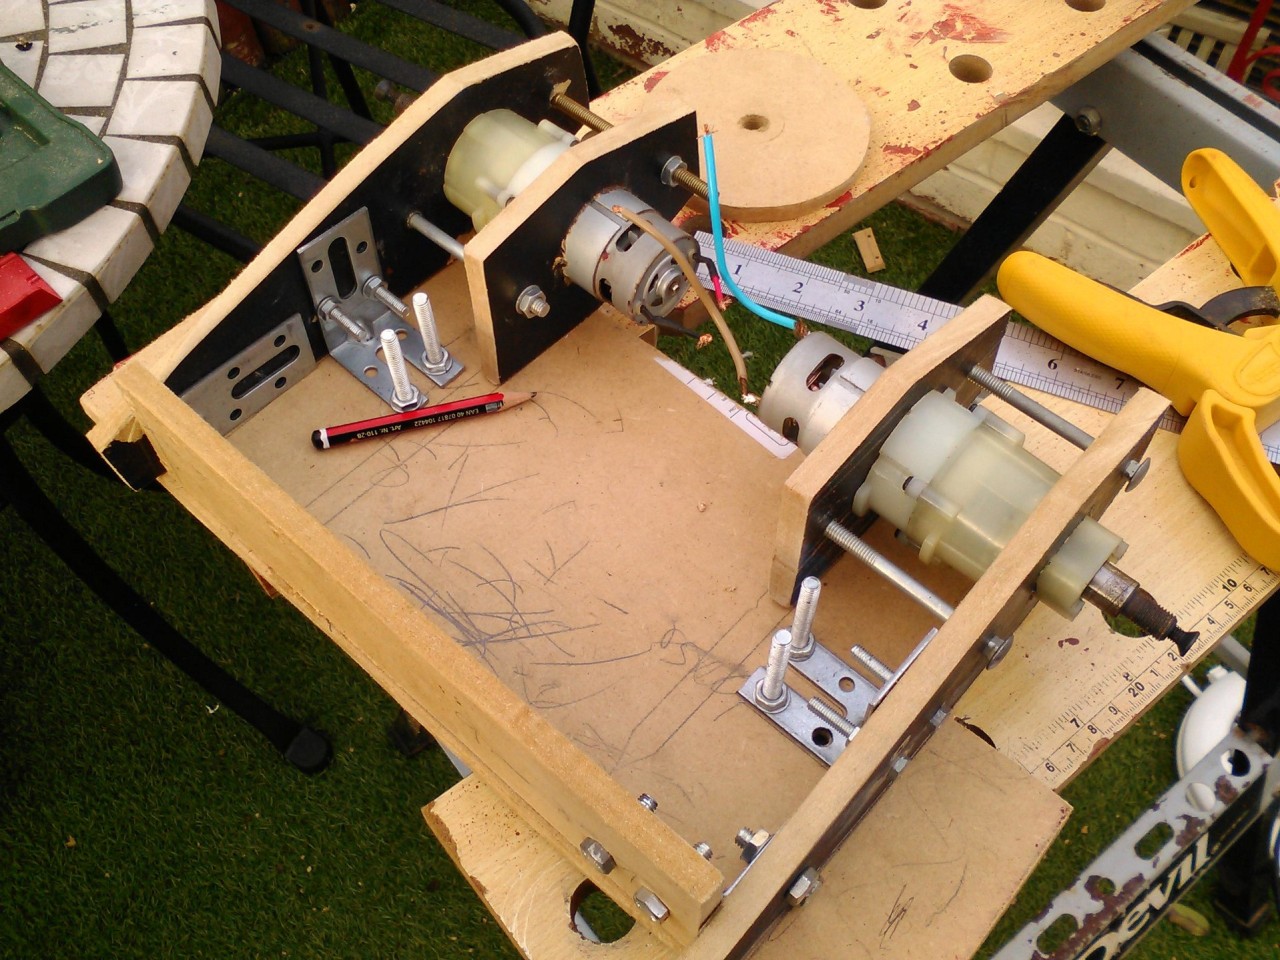
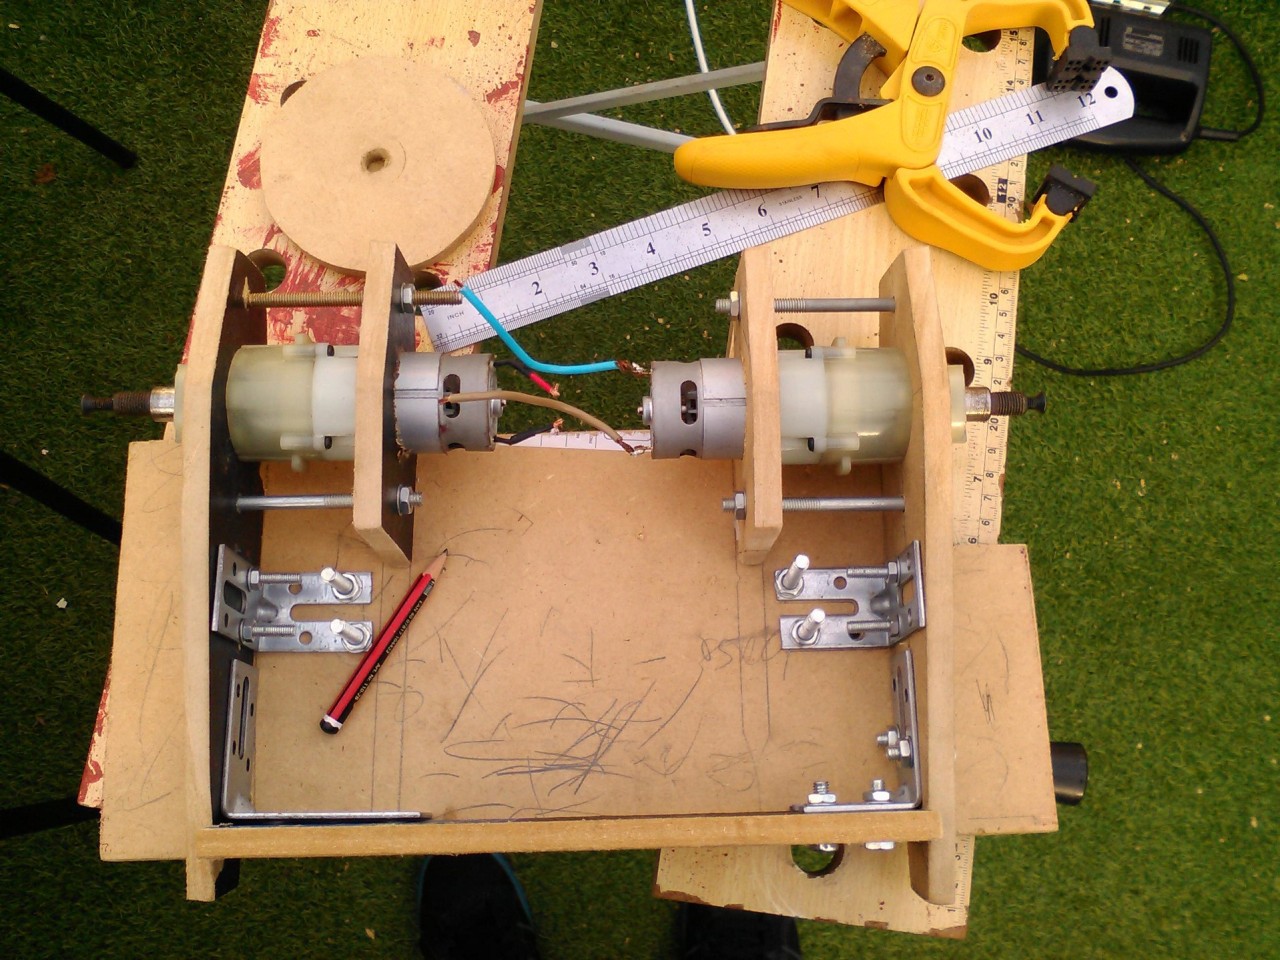
I made a scale model of the base plates and frame out of wood to get the sense of scale.
My uncle brought the 2 18volt cordless drills over and in the process of starting to 'hack' them I noticed that the main drive shaft slides out of the gear box, after which I opened and learned that for some reason the shaft and the gear it attaches to is separate pieces instead of being one whole piece.
now I'll have to get a new shaft for both my gear boxes and a different motor seeing as one of them is smaller then the other.
WP_20160802_001.jpgWP_20160802_002.jpgWP_20160803_001.jpgWP_20160803_002.jpgWP_20160803_003.jpgWP_20160803_004.jpgWP_20160803_005.jpgLeave a comment:
-
Oh I see, something like this?Originally posted by leorcc View Post
Screen Shot 2016-06-28 at 11.20.47.pngLeave a comment:

Leave a comment: