 Tweet
Tweet
Wow, just wow.
-
-
I can't wait to see this in action. Wow.Comment
-
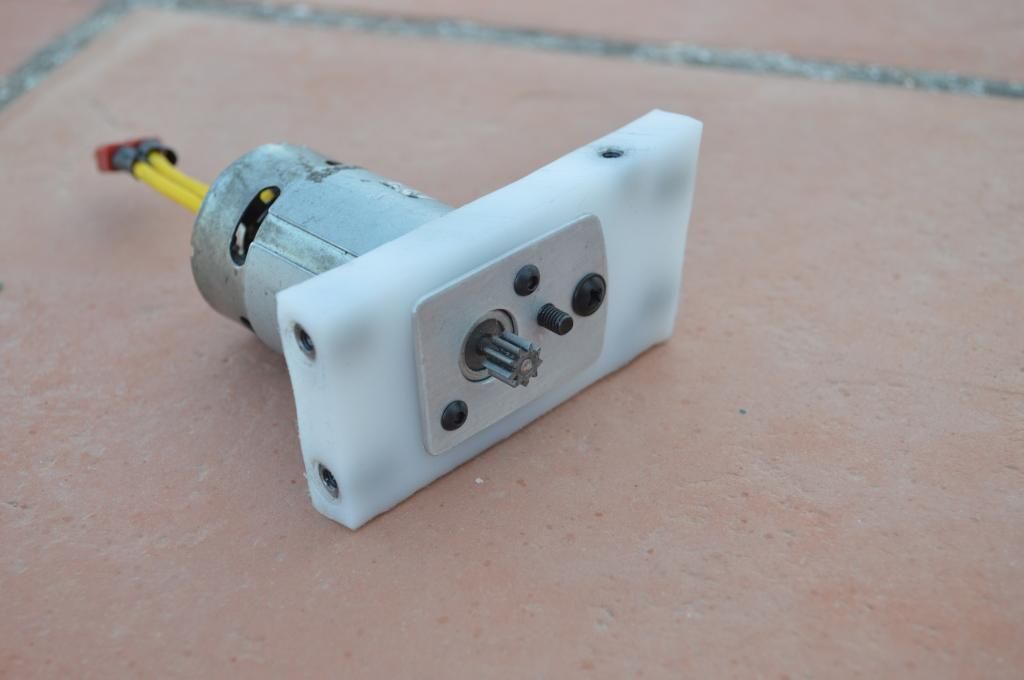
Been making progress with Gonzales. I've reworked the drive system a little. Before the wheel shaft was just a bolt locked off on the outer bulkheads and a big horizontal hit would have shunted it into the drive motor. That, and the motor pinion/wheel alignment was off by .4mm on one side which meant that motor had to be mounted crooked to engage the wheel. I couldn't leave this and call what I'm doing an "overhaul". :P
I made some little plates to fix the issues:
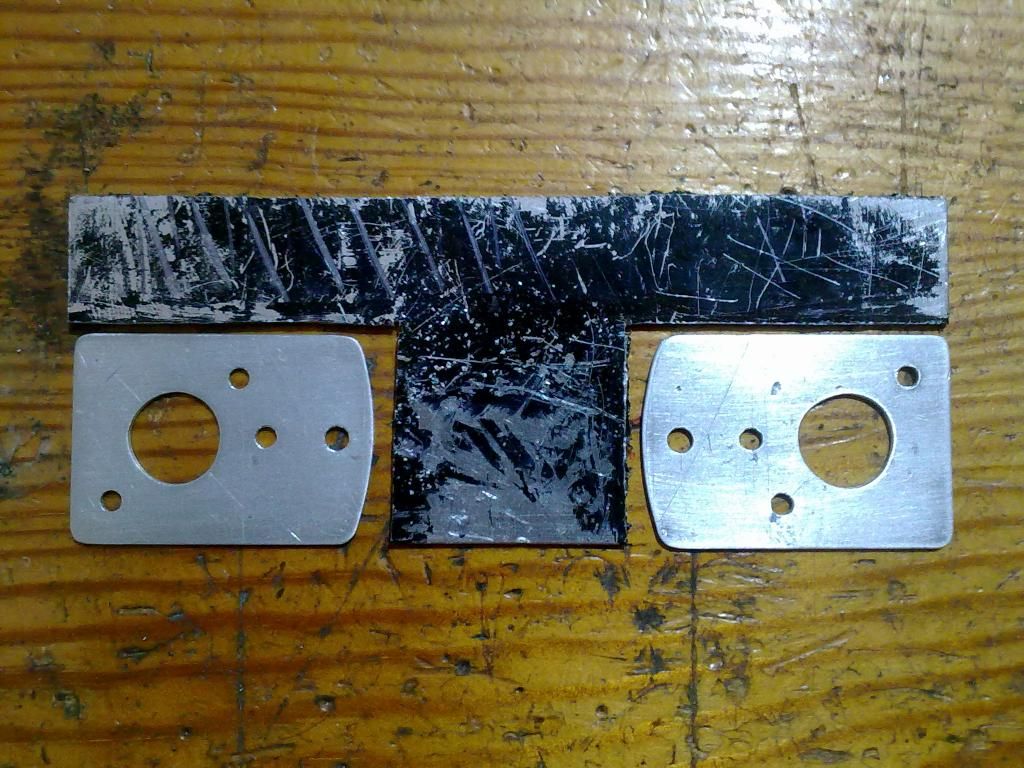
The wheel shaft now bolts to the inner bulkhead with an m4 bolt (the stub of thread you can see).
The spacing should now be correct, but since taking those pics I drilled out the hole so that the wheel shaft at motor-end can be adjusted by .5mm in any direction (m4 bolt, 5mm hole). So I should be able to get the gears meshing perfectly.
I made a pair of drive shafts to complete this area of changes/upgrades:
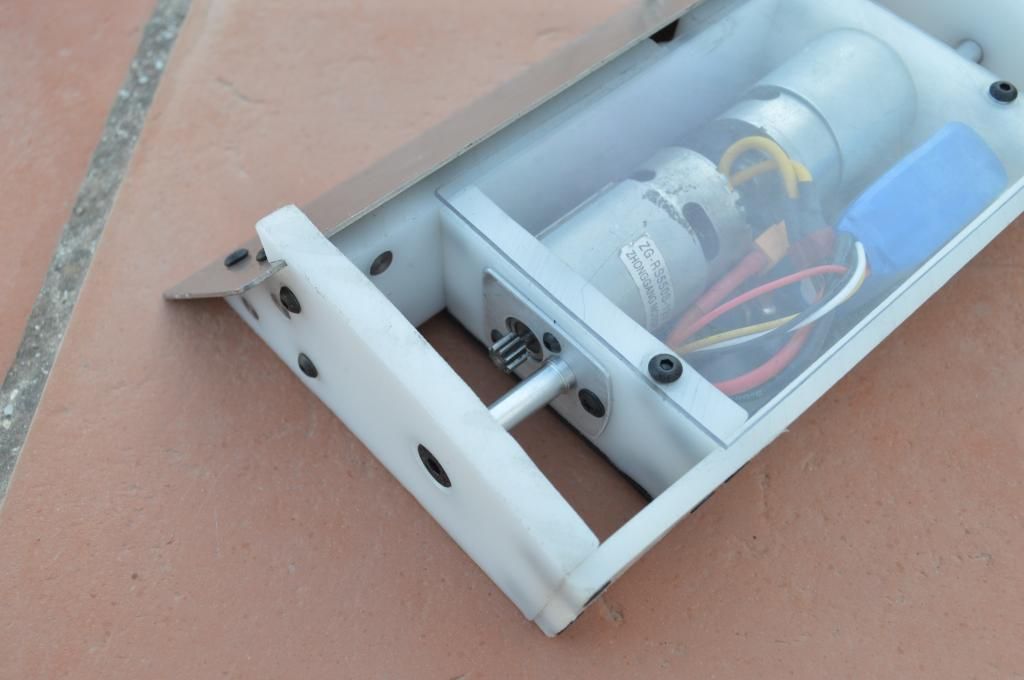
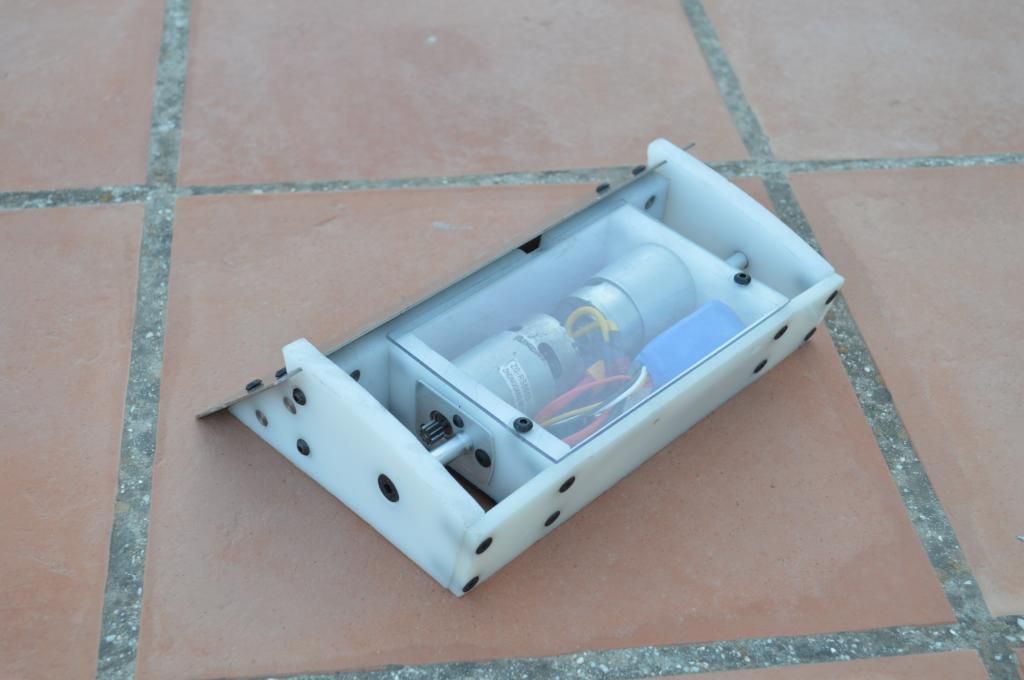
As pictured + electronics it weighs 1180g, I'm hoping I can make new lighter wheels (currently 100g each!) leaving 100-150g for putting steel on the scoop.
Still need to start on the spinner... and rebuild the front of T2... and make sure Rango isn't a fire hazard... 30 days gah.
Cheers.
Comment
-
Looks pretty good so far. Very neat, and compact. So yeah, pretty good all round. Sorry I don't have much to say, I'm not great at things when I'm tired.Comment
-
Looking swanky Ellis! Should be interesting to see how Anvil and Gonzales meet in battle.Comment
-
Hmm, not sure those drive motors you've got will be powerful enough for a beetle :/
In all seriousness though, looks very cool, should be one to watch! Still keeping the same voltage and gear ratio as last time?Comment
-
Yep, if I haven't buggered it up by making changes it should drive/behave like it did before. Hopefully for a bit longer this time...Comment
-
That'll be good then -looked lightning fast when I saw it, should do even better if there's a pit in the arena too, I'd imagine!Comment
-
Have had to focus on some other stuff for a few days, but I have been making steady progress on the new robot. Major picspam inbound.
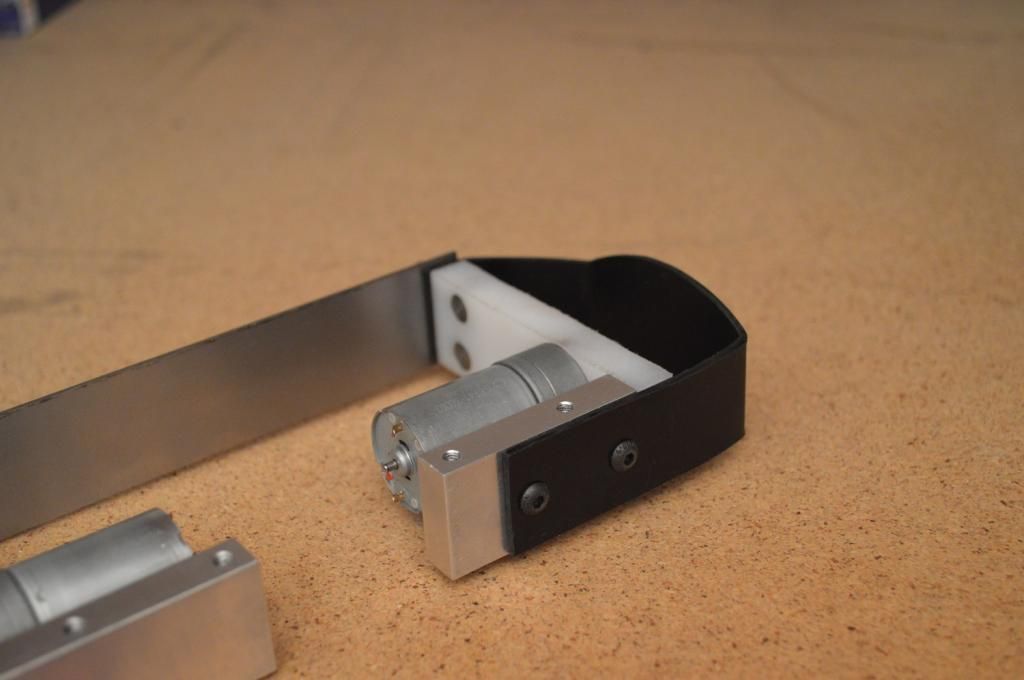
I started with the main chassis components - Harry squared the alu on the mill and brought the bare blocks over when he visited, the first thing I did was drill and tap according to my CAD:
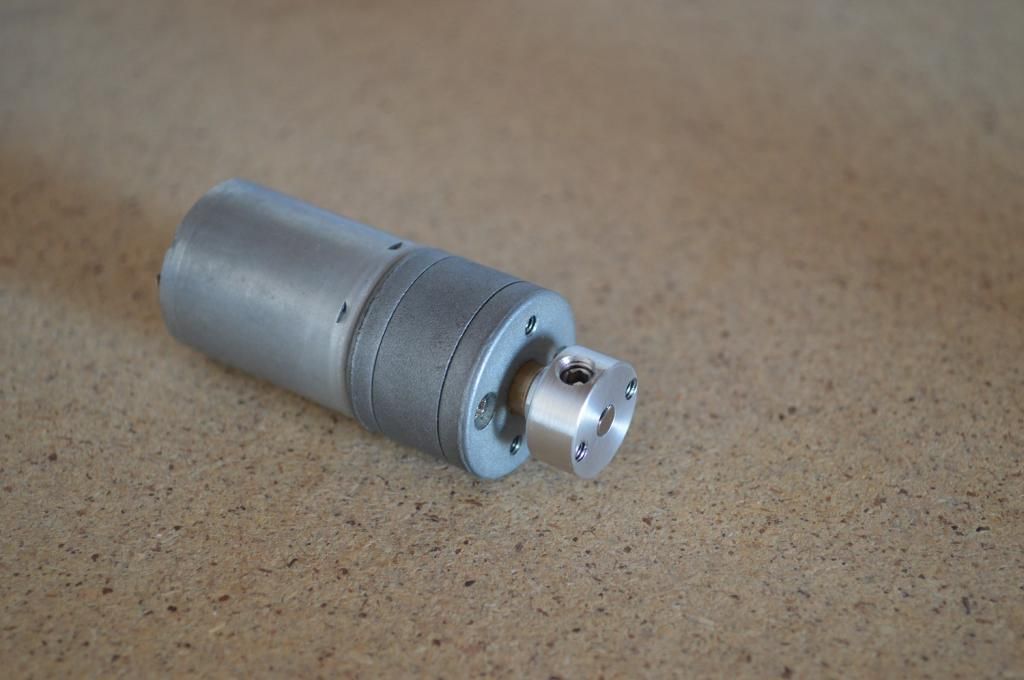
I devised a mounting method for the wheels which involved making a hub. Making this sucked a bit; too small and easily ruined (I have so far avoided making the second one...):
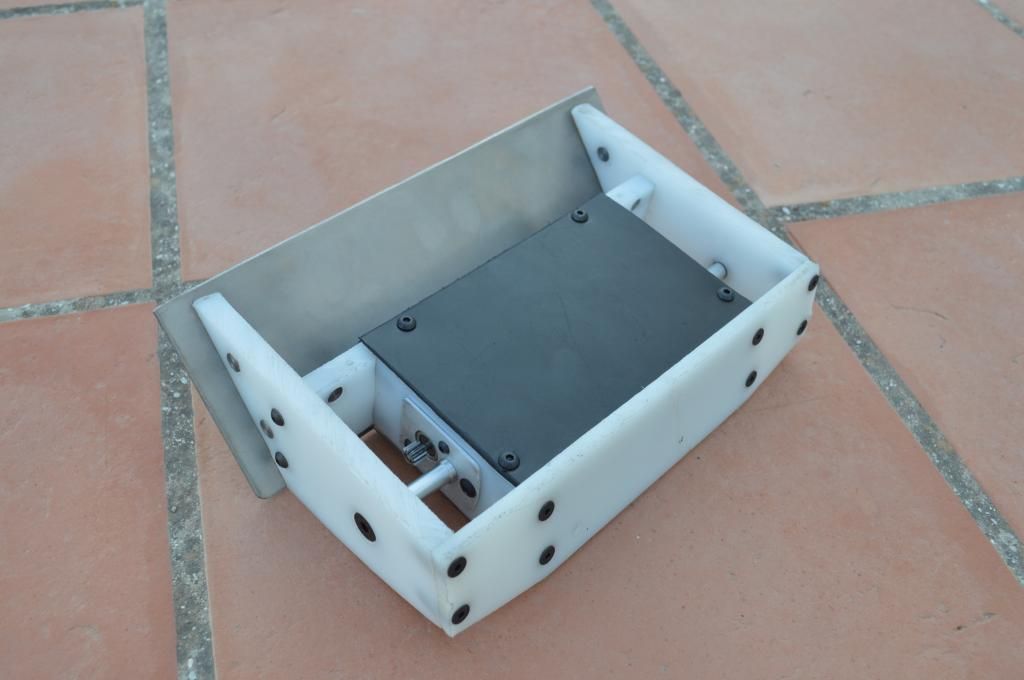
I then sort of forgot to take more individual part pics, or what I did take was in terrible light on an old phone, so cutting to the chase it looks like this as of this evening:
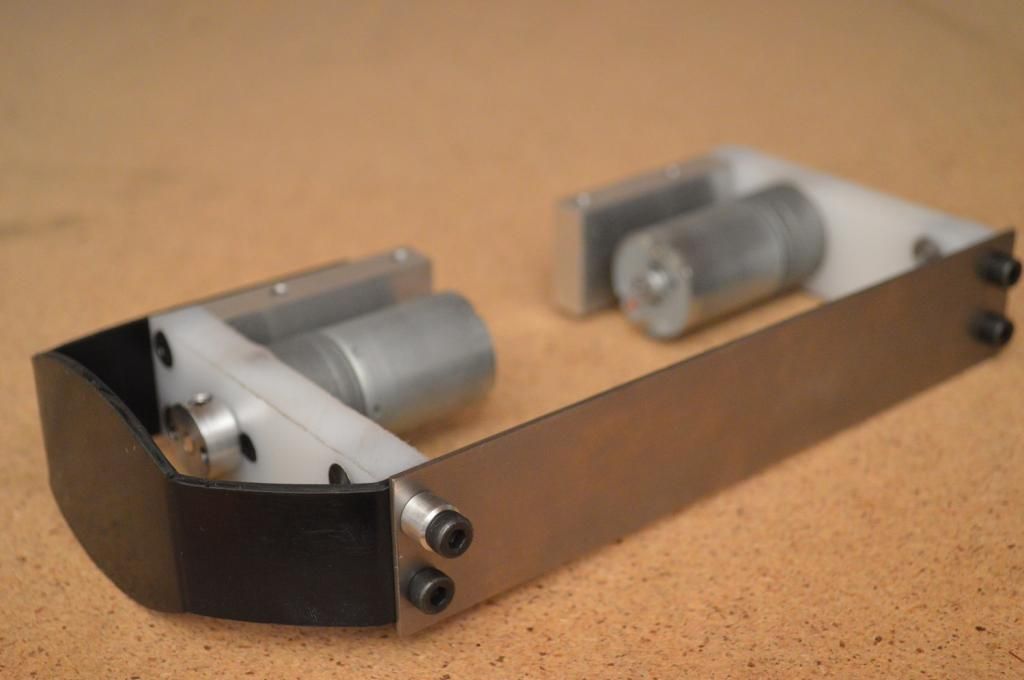
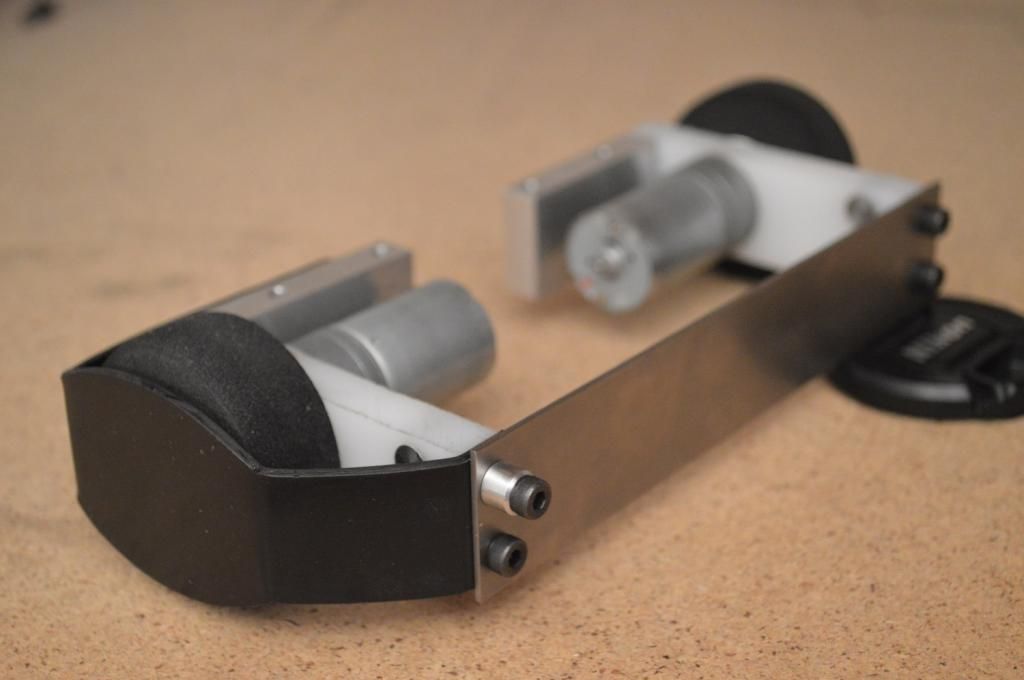
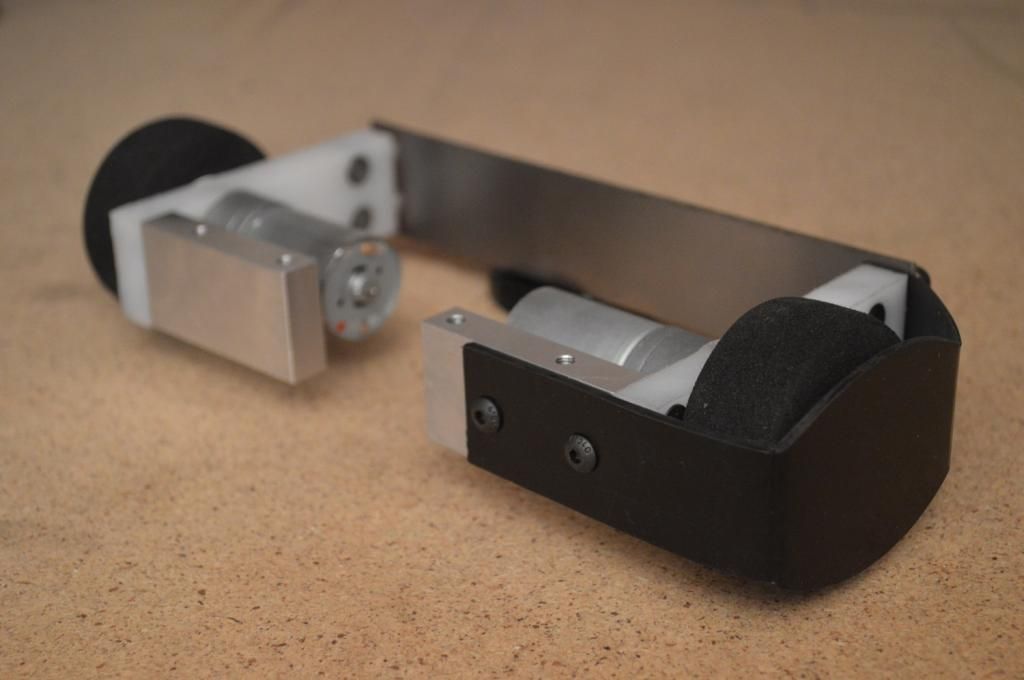
Next to the not-touched-since-last-post Gonzales for a sense of scale:
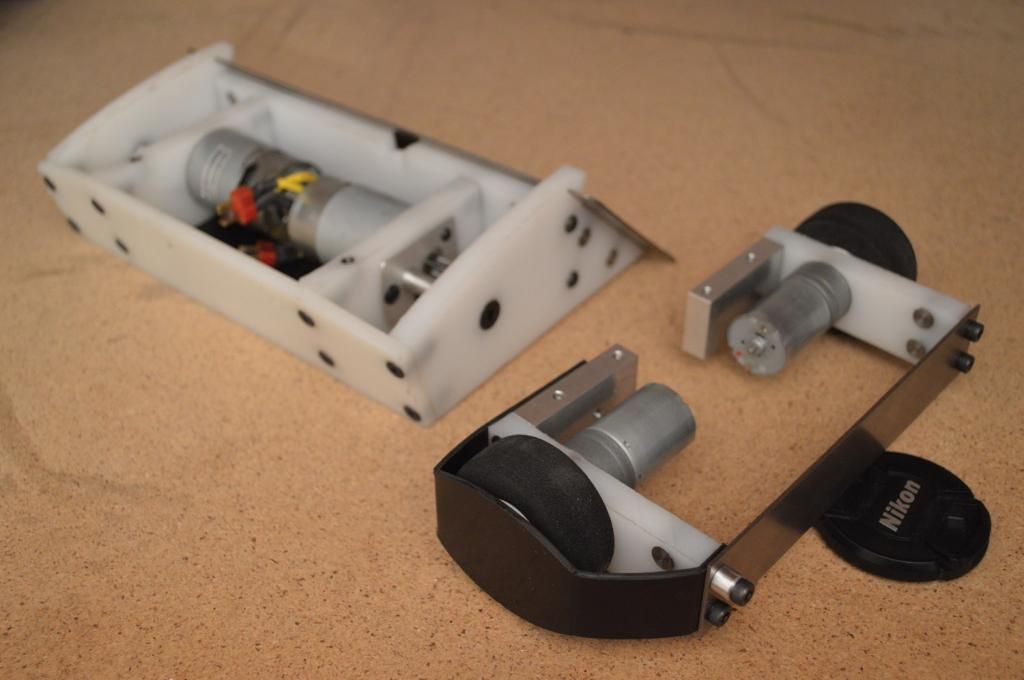
So: the motors are mounted, the backplate is done (1.4mm ti), the alu blocks are as holey as they'll get, the HDPE bits need some inserts for top/bottom panels, and one wheel guard thingy is done. I was very skeptical of just 2mm HDPE even being worthwhile, but because it's all under tension (I didn't heat the bends, so they're trying to straighten) and a trapezoid it's pretty stiff. Making that was certainly a learning experience. Second one should take a third of the time.
Will be getting to the weapony stuff before long.Last edited by Ellis; 13 August 2014, 23:08.Comment
-
That looks so slick! How did you get everything looking so neat?Comment
-
It's not that neat when you get close! Although I do file/sand pretty much everything.Originally posted by Eventorizon View Post
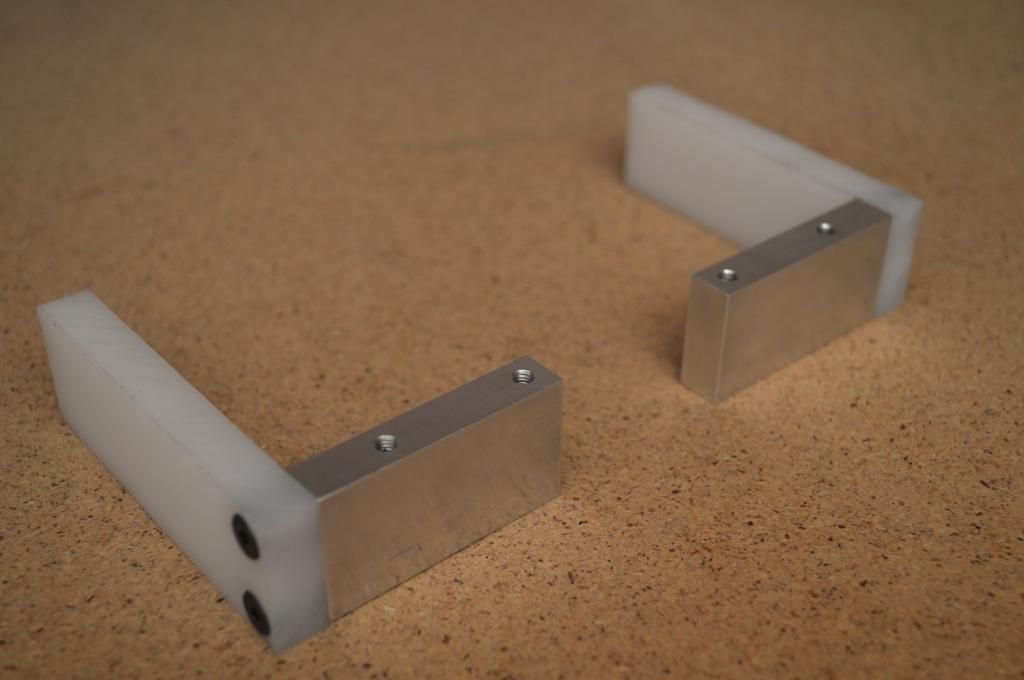
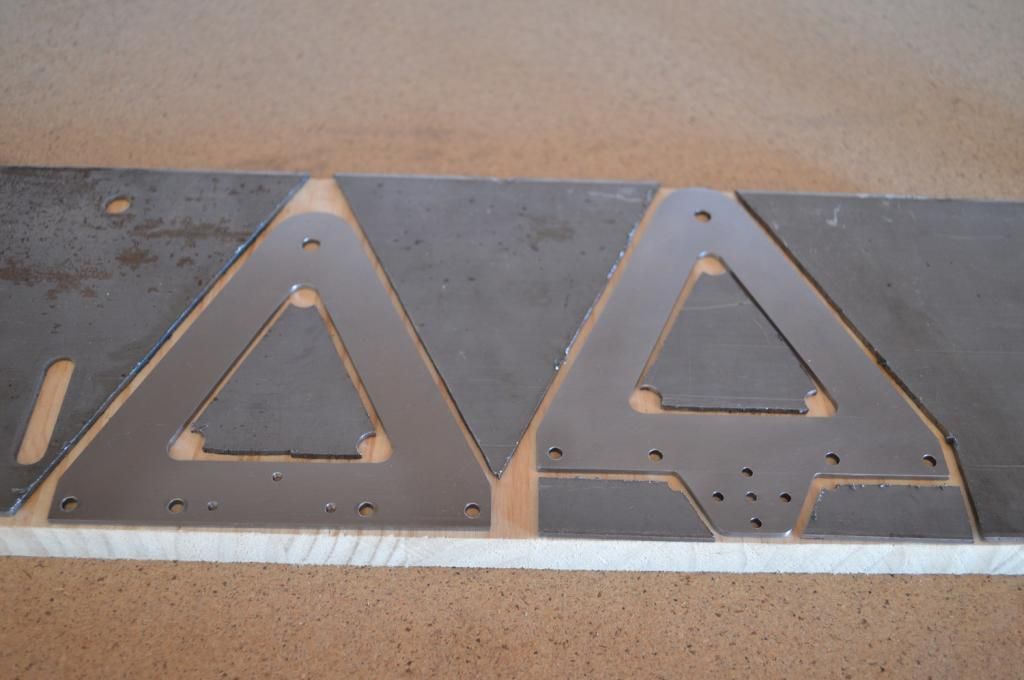
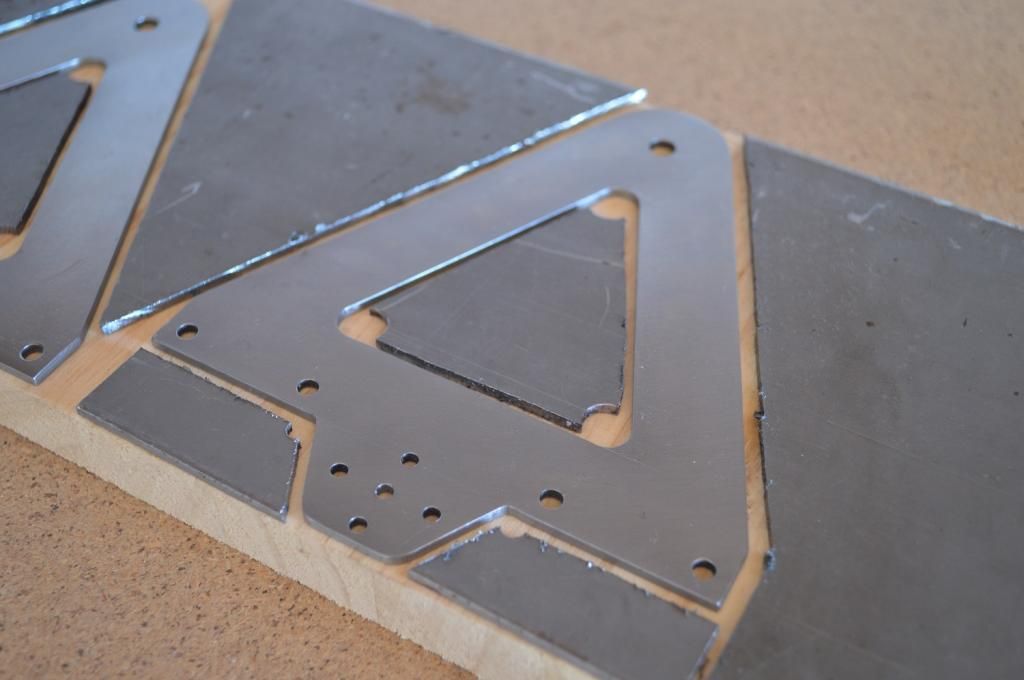
I have made the main support structure pieces for the spinner. I started with the more simple one:
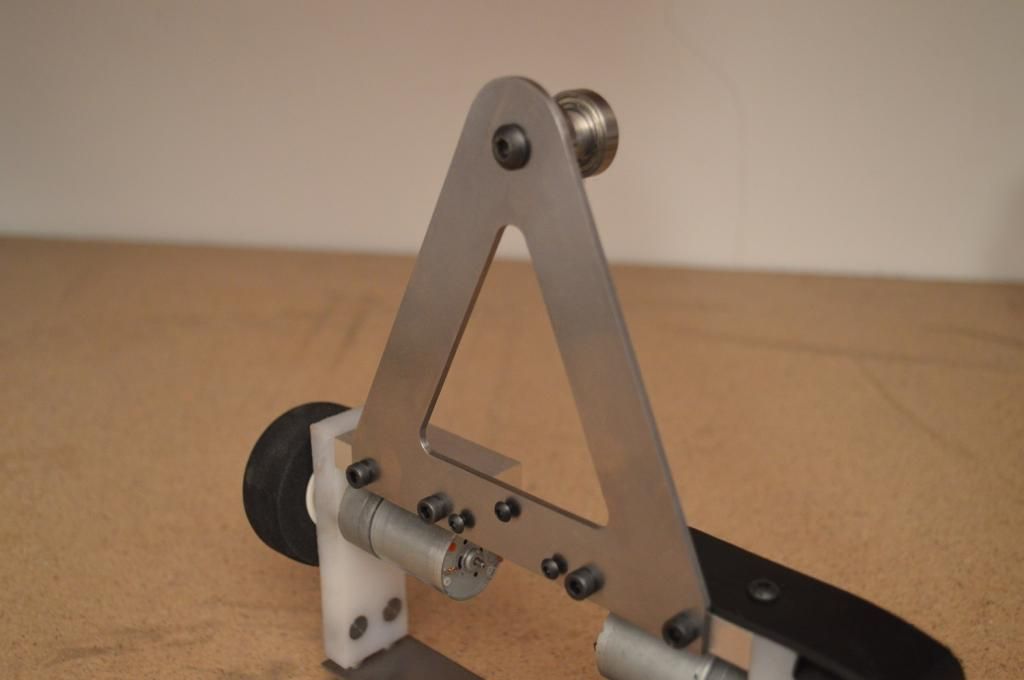
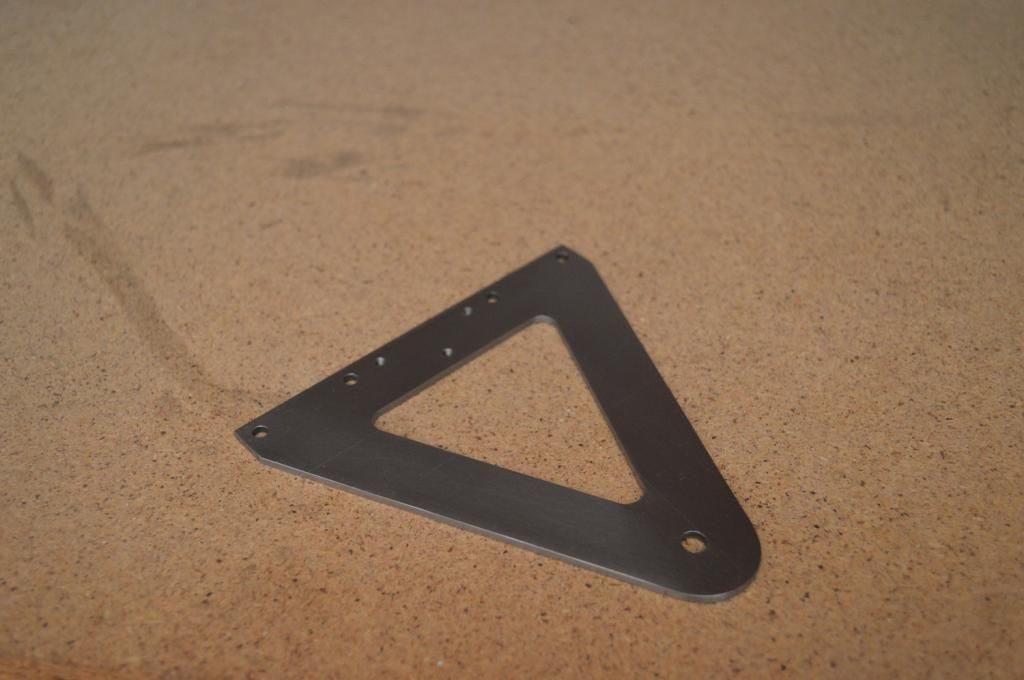
And just finished the second one:

Not sure what to do next, either the other-end-shaft-support (which bolts to the more simple piece above) for the brushless or the other wheel cover thing.Comment
-
Damn son. Somebody give this bum a job so he doesn't have time to make stuff this nice and make me look bad.Comment
-
Somebody give me a job so I can buy the tools necessary to make stuff this good.Comment
-
The thing is he did this with about 10 euro worth of tooling. Cheapy hacksaw and cheapy files/needle files. Impressive.Comment
-
I just hope I can match it with a *insert high number here* mill! And harry is right. A cheap file and some sandpaper and a good vice is all it took. And time... lots of time...Originally posted by Fathersplat View PostComment
Comment