-
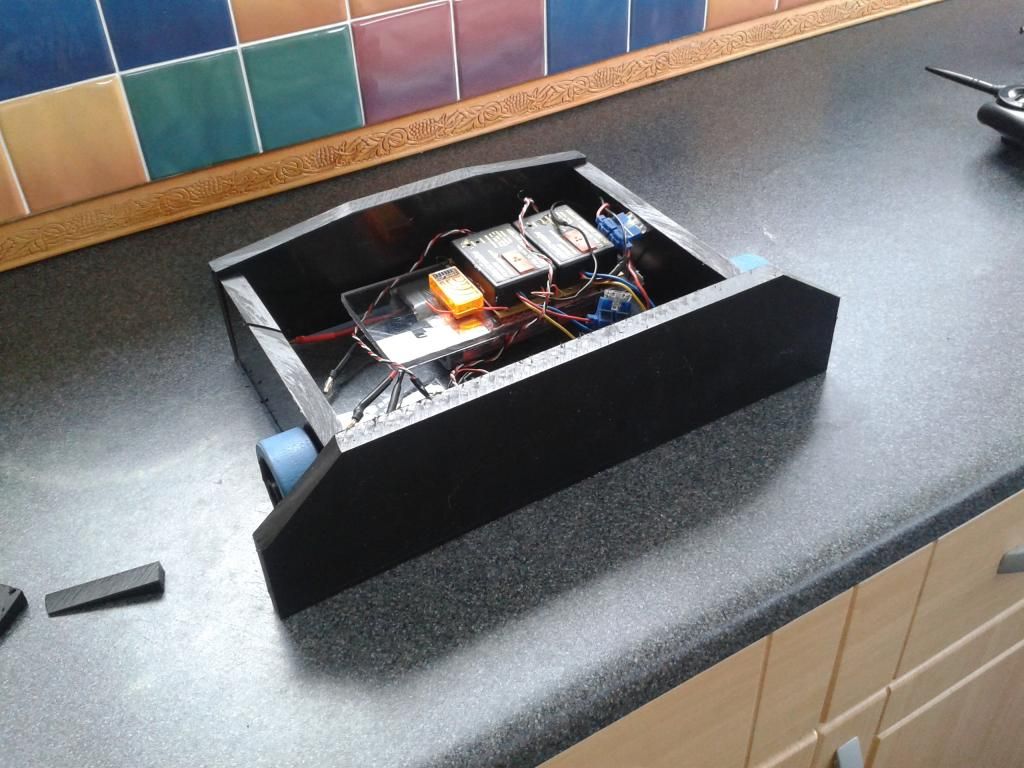
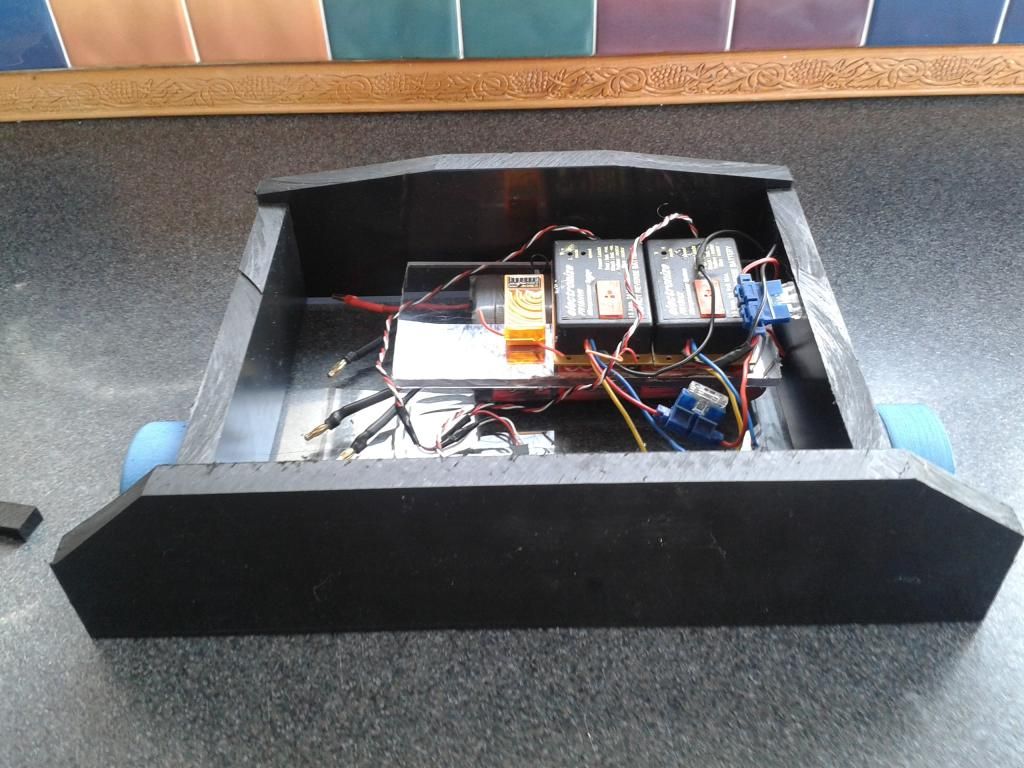
Thanks guys, decided to take a break from the HDPE storm and make a start on the wiring (which at the moment looks so untidy i'm too ashamed to post a photo), was all going so well until i tried to test a drive motor and discovered that like an idiot i had forgot to order a receiver battery and so can't bind my RX to my TX .
.
-
That's too much of an interesting shape for a boring brick
Looking good man.Leave a comment:
-
ENEMY THY NAME IS HDPE SWARF!
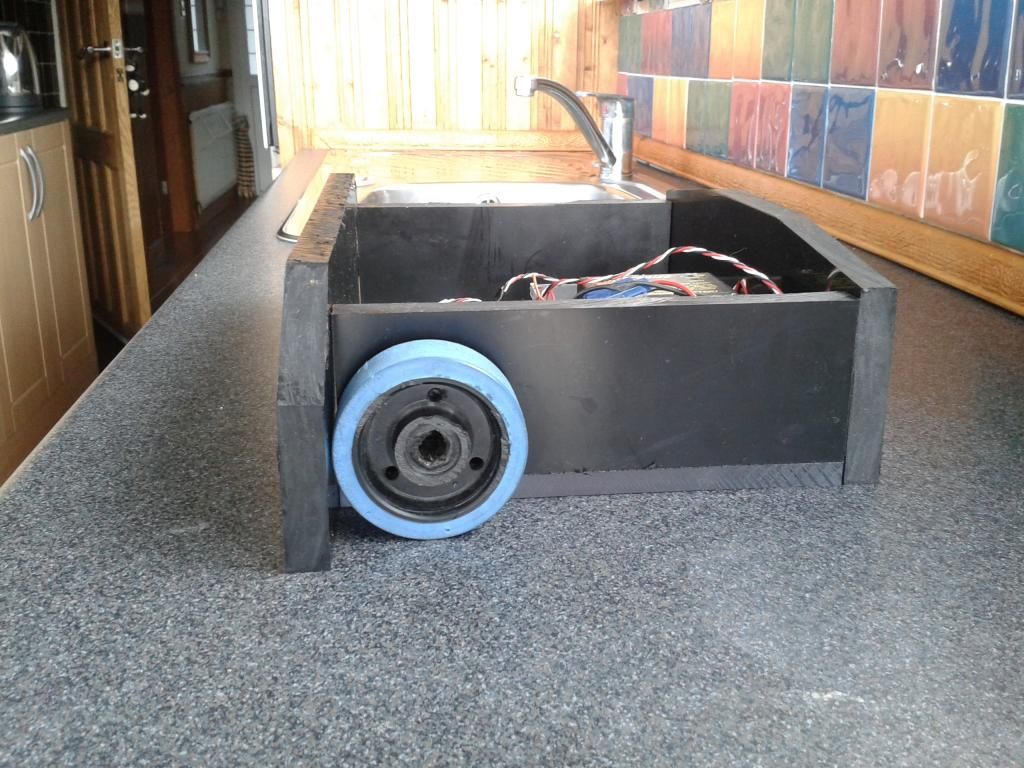
Spent some time today on the chassis of the robot and Jayus what a mess!, there wasn't a wall, piece of floor or piece of my circular saw that wasn't covered in swarf.
Anyway took some pictures of it stacked together thus far, still got the rest of the wheel guards to go and the motor mounts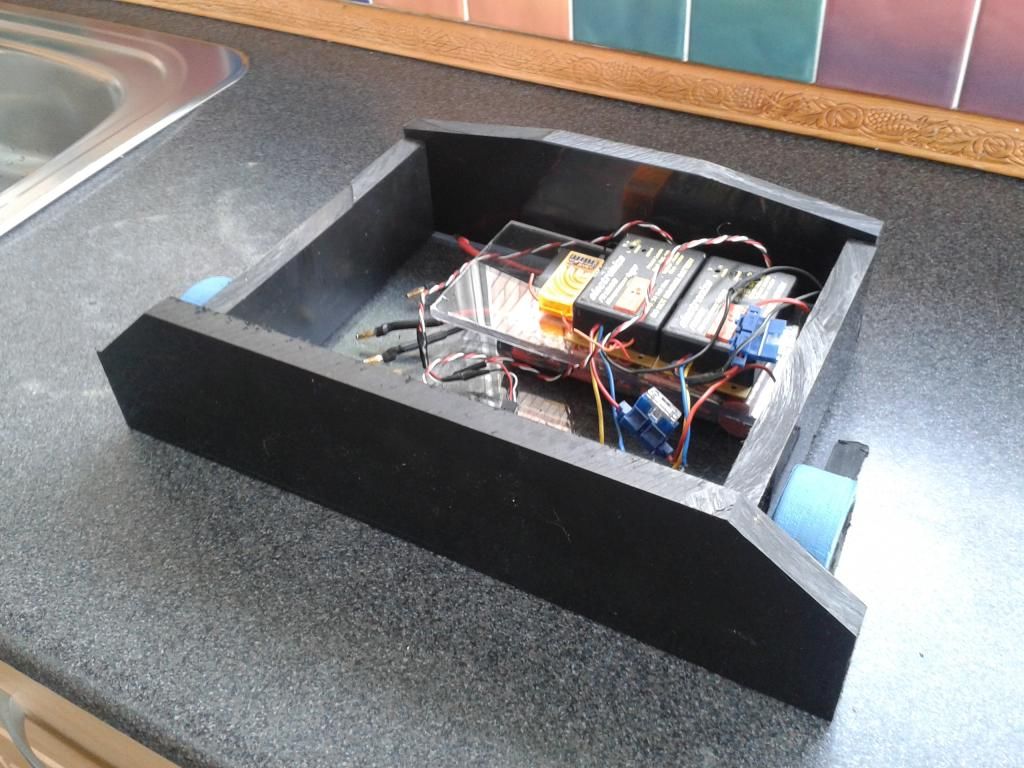
Leave a comment:
-
I've had a quick look online and the only dpdt relays i can seem to find are rated for no more than 30 amps, does anybody have a recommendationLeave a comment:
-
Considering there is pretty much only one way of hooking it all up to get the machine working you shouldn't have to worry about failing a tech check. Do try to shrinkwrap all your soldered wire connections or solder connectors between your leads.Originally posted by mrsam View Post
simply put, connect both plus/positive sides of your packs together using connectors. Straight after that comes your removeable link. From there you can hook up everything (as long as you use the positeve leads offcourse). So in this case 3 esc's (motor left, right and axe) and your led. (the longer wire on the led is the positive lead I believe)
Your negative leads don't need a removeable link and can be hooked up straight to your components.Leave a comment:
-
On motorcontrol.
Double pole double trow relais. And not the small cheap ones from cars or so, but big sturdy heavy things.
TZ85a could do the trick too. But that's a risk.Leave a comment:
-
Depends what cheap is.
I guess you could always use sprockets and chains, and they're free/near enough free if you know what you're doing and can find what you're looking for easily from bikes or whatever, but it all depends on your motor. What RPM is it? If it's a higher RPM, naturally you'll more sprockets and chain or gears to gear it down more to a usable speed, which will be more expensive to do if you can't find the right parts as scrap or otherwise!Leave a comment:
-
I've got hold of a 250w scooter motor on the cheap and am considering putting it to use for an axe, any ideas on cheap ways to run the axe? when i say cheap i mean cheapLeave a comment:
-
As i'd rather not fail a tech check at an event for something stupid would it be possible for somebody to put up a wiring diagram so i know where to start, it would be for 2 motors, 2 esc's, 2 batteries in parallel, mixer, power light and link. Would be much appreciated.Leave a comment:
-
I should add the parts are just laying where i could be arsed to put them, when it comes to building it will be a better layoutLeave a comment:
-
Radio gear and HDPE from direct plastics should be here early next week so i can start building so updates over the next couple of weeks will be a plentyLeave a comment:
-
I have finally got my act together and started getting all of the parts together ( left it a little late but oh well), here's what i have so far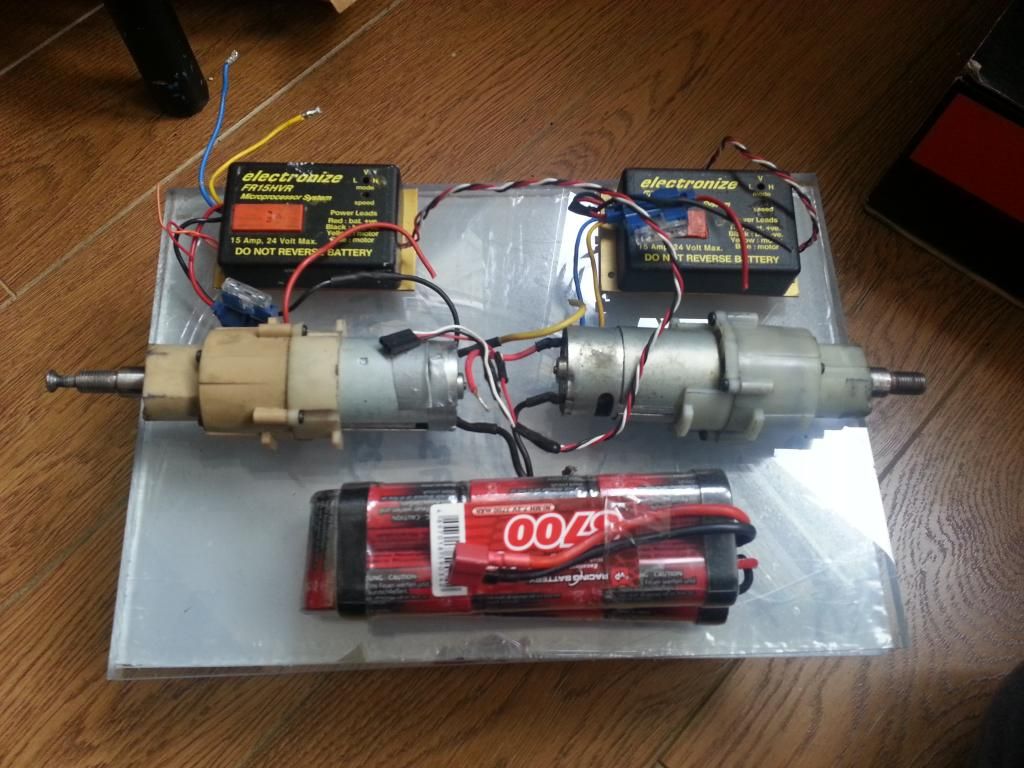
Leave a comment:
-
A chainbreaker is your friend. A tool any decent bike repair shop needs.Leave a comment:
-
We just used a hammer and a thin-strong-something to knock out pins in and out accordingly. Naturally, that got boring quite quickly, and eventually we bought something similar to this: http://www.ebay.co.uk/itm/TK012-6mm-...item53f9ff7fb5
Better than the hammer and pliers approach... but not by a lot, haha. It'll do the job but is still mighty fiddly.Leave a comment:
Leave a comment: