Announcement

Collapse
No announcement yet.

Liftoff (FW) build diary

Collapse
X
 
  • Filter
  • Time
  • Show
Clear All
new posts

  • #46
    Re: Liftoff (FW) build diary

    Originally posted by Liftoff
    been looking ways to attach hdpe together and from what I can understand, the best method apart from fasteners is welding. I've got no plastic welding equipment so I'll try to fiddle with what I have - my idea is to pass a small gauge wire in the ends to be welded, then press the ends together and connect the wires to a battery, the wire should get hot enough to melt/weld the ends in theory. Anyone tried something similar with some success? I'll give it a go tomorrow and see what happens
    Actualy, the wire idea is being used in industrial piping welding processes. But that requires some expensive machines. It's ment to weld tubes and connections together.
    The tool I used was a combination machine. A mirror welder but with attachments for wire-welding.

    For mirror welding (the mirror is a polished stainless steel plate). Put the tubes in the hydraulic clamps. Scan the barcode of the parts. The parts get pressed at a certain pressure against the mirror. The mirror gets heated to a certain temperature. When the parts have the temperature desired, the mirror is withdrawn, and the clamps press the parts together. Never seen neater butt-joints.

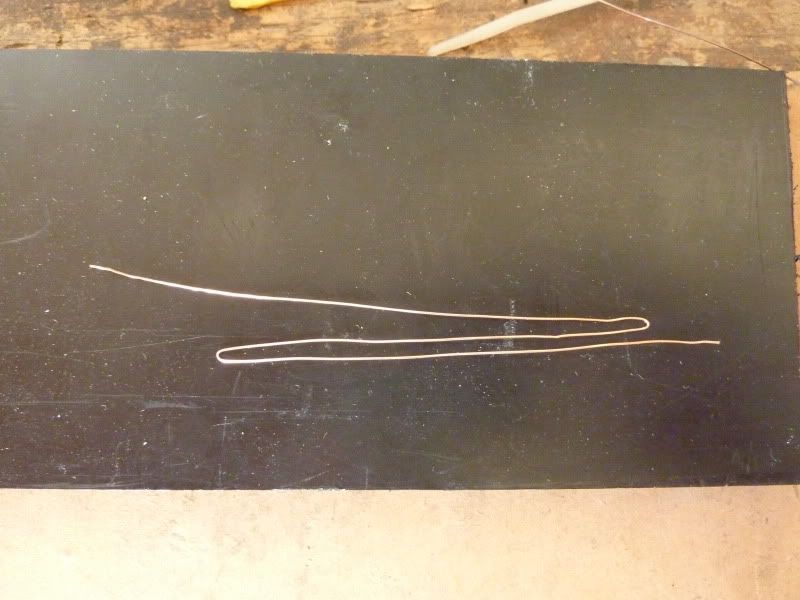
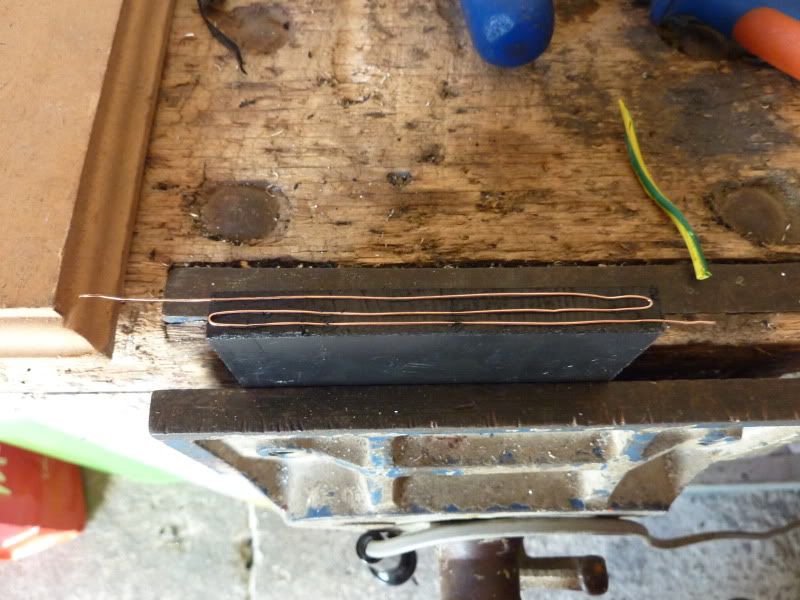
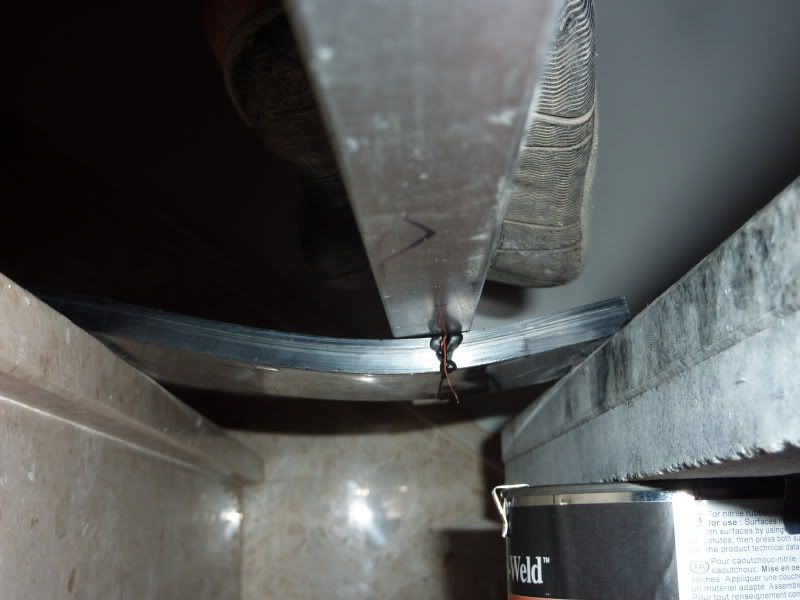
    Wire welding requires elbows and straight connection pieces with the wire in them. But the idea is about the same. Push the cleaned parts together, align. Push the wire-connectors from the machine on the studs on the parts, scan the bar code, and press start. When the buzzer sounds, it's ready.


    On HDPE welding equipment. After a few failed attempts with cheaper hot air guns and self build nozzles I got myself a second handLeister Triac S. Still not cheap.... But worth the investment. As the Hannibalito's demonstrate.

    Comment


    • #47
      Re: Liftoff (FW) build diary

      I have tried welding with this method before, the joint is always very weak. A routed joint and bolts is the best way. If you want to try the welding, for best results place your wire (very fine gauge) with 3mm spacing across the whole joint. This then will be the same as spacing on the pipe joins (hdpe gas pipe)

      Comment


      • #48
        Re: Liftoff (FW) build diary

        just finished the experiments, and after lots of flying sparks, burning wire and melting plastic I managed to get some results :wink:

        took some of the tips posted here and the end result looks good - to be honest, I'm really surprised by the strength of the weld, but having said that I did not try to break the weld yet.

        started off with thin piece of wire


        and locked it in place with a soldering iron along the joint


        clamped it an connected it to a 6v battery (had to replace those thin leads as they stared smoking and melting in no time! A pair of jump leads did the job - they got a bit warm anyway!)


        Close up of the seam


        and finally a test - that's a solid block of steel weighing about 15kg, left it for 15min and didn't break... tried to shear it off with my hands - no good. But I think if I had to clamp it and hit it with a hammer it will give in...

        Comment


        • #49
          Re: Liftoff (FW) build diary

          drop the block of steel on it, or hit it hard with a large hammer.

          Comment


          • #50
            Re: Liftoff (FW) build diary

            Impressive!

            Comment


            • #51
              Re: Liftoff (FW) build diary

              ''drop the block of steel on it, or hit it hard with a large hammer.''

              I had a go at it, hammer blows no good -it springs back (almost injuring myself in the process )

              The ultimate test: myself standing on it ( now I'm no feather weight at 100kg!) no matter how much I bounced on it, didn't give way. It did get a bit bent though!

              I'm really impressed - will surely use it on this build!

              Comment


              • #52
                Re: Liftoff (FW) build diary

                Fantastic result! Looked relatively simple to setup, too. May have to try this!

                Comment


                • #53
                  Re: Liftoff (FW) build diary

                  Hmm, what resistance does that wire have?

                  I fear the 6V battery won't like welding HDPE this way a lot.

                  But congrats on those tests. I'm impressed.

                  Comment


                  • #54
                    Re: Liftoff (FW) build diary

                    I don't know the resistance, just used a strand from a cable, its 0.4mm dia copper wire maybe 25cm long. Totally ignored whether the battery likes this or not! I'm not much into electrics and wires, just basic knowledge, so I'll ask my brother if he can rig something, maybe a power supply? Seen him using one to operate the robot motors etc, adjusting voltage and current and so on - so I'll ask him before I fry his battery!

                    Comment


                    • #55
                      Re: Liftoff (FW) build diary

                      i would make sure the blade is wound in on that plane in the background a couple of pictures back.
                      it will wear out the blade if left like that.
                      you can sharpen them on a water stone(if I've not just made that up) or sand paper but i take it you already know that
                      nice attempt at welding

                      Comment


                      • #56
                        Re: Liftoff (FW) build diary

                        don't tell me you've noticed the position of the blade from the photo!
                        had to sharpen it a couple of times while trimming the edges of the robot this week - missed one screw and shaved its head, the blade didn't like it at all! It's really good on hdpe though when sharp.
                        Btw we use oil stones for sharpening over here, water stone could be something similar but I've never used one.
                        re. welding I'm happy with the result, makes it easier to attach parts where its difficult to use fasteners, wish I had tried this a bit earlier, it would have spared me a lot of sweat and swearing!

                        Comment


                        • #57
                          Re: Liftoff (FW) build diary

                          Looks perfect

                          Comment


                          • #58
                            Re: Liftoff (FW) build diary

                            A small update - Now the machine is almost complete, ready for the event this Sunday.
                            Testing and last minute modifications still ongoing but the results look promising
                            Pics and clips will follow after the event - thanks to all those who contributed by giving tips and advice, it was all appreciated!

                            Comment


                            • #59
                              Re: Liftoff (FW) build diary

                              Liftoff is now almost ready, finishing touches only remaining :P
                              It had its fair share of last minute problems, specially with the track drive, which insisted it wanted to go off to one side (cutting a nice groove in the HDPE sides), but that's now solved. The flipper arm was also a bit of an issue as we had no stopper installed and when firing the actuator it kept flipping and locking the arm open, That is solved as well.
                              Got to put the cover in place and get it dressed up for the occasion now :wink:


                              Comment


                              • #60
                                Re: Liftoff (FW) build diary

                                It is looking really good! I look forward to seeing it tomorrow as I am currently in Malta and bringing my spinner Inertia XL to demonstrate

                                Comment

                                Working...