Announcement

Collapse
No announcement yet.

Boring Brick

Collapse
X
 
  • Filter
  • Time
  • Show
Clear All
new posts

  • #61
    ENEMY THY NAME IS HDPE SWARF!

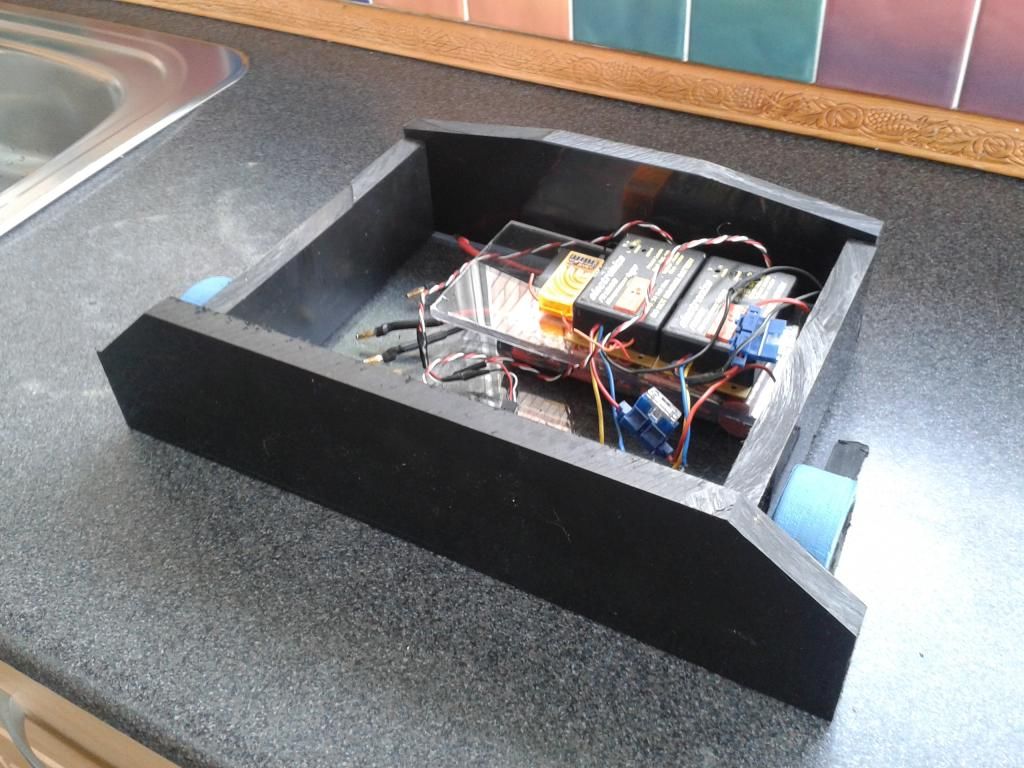
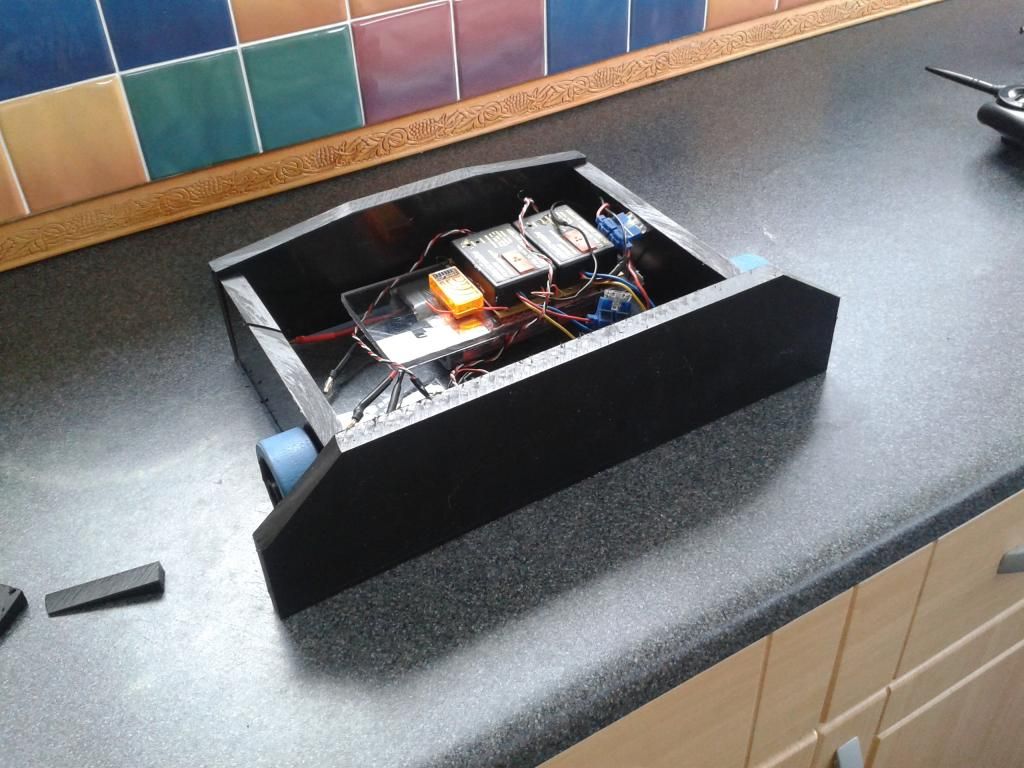
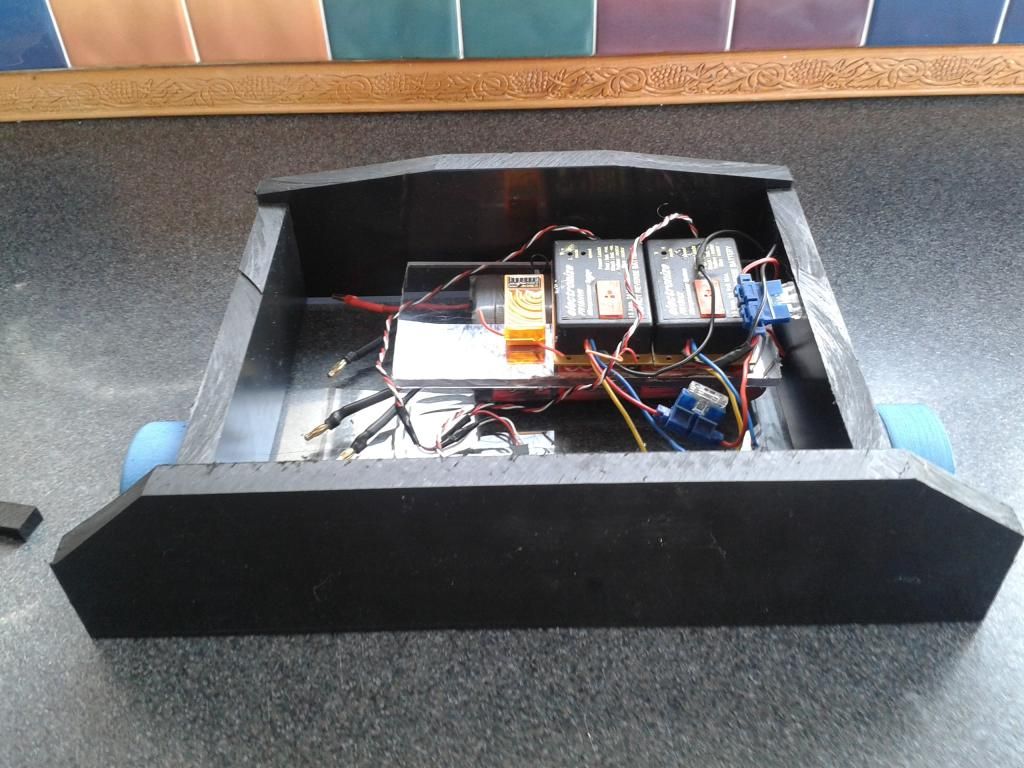
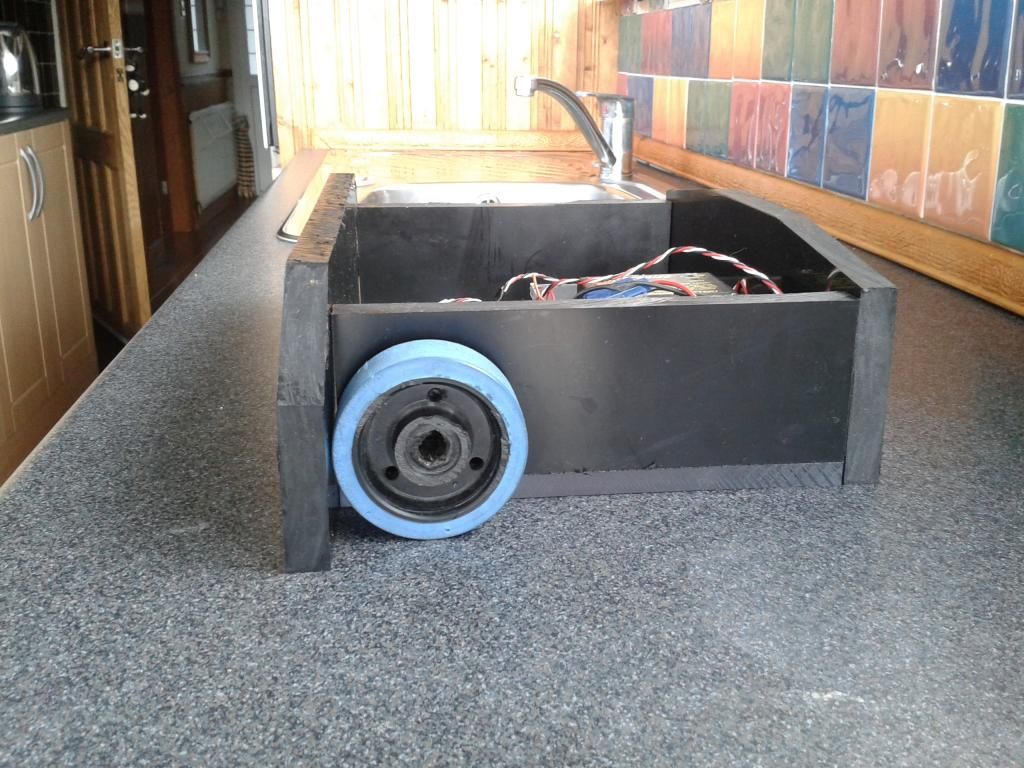
    Spent some time today on the chassis of the robot and Jayus what a mess!, there wasn't a wall, piece of floor or piece of my circular saw that wasn't covered in swarf.

    Anyway took some pictures of it stacked together thus far, still got the rest of the wheel guards to go and the motor mounts

    Comment


    • #62
      That's too much of an interesting shape for a boring brick

      Looking good man.

      Comment


      • #63
        Agreed, nice work!

        Comment


        • #64
          Thanks guys, decided to take a break from the HDPE storm and make a start on the wiring (which at the moment looks so untidy i'm too ashamed to post a photo), was all going so well until i tried to test a drive motor and discovered that like an idiot i had forgot to order a receiver battery and so can't bind my RX to my TX .

          Comment


          • #65
            Okay like an idiot i hadn't wired the BEC circuit together (remebered there was one AFTER ordering a battery), the robot now works however it doesn't failsafe, if i turn the TX off the motors just start spinning by themselves, any idea how i can make it failsafe? the RX im using ishttps://www.hobbyking.com/hobbyking/..._Receiver.html and the transmitter is http://www.horizonhobby.com/products...20sr-EFLH1064B

            Comment


            • #66
              What you should do:

              Power up your transmitter holding the trainer channel, uppermost lever on the left en hold it for the moment.
              Power up the robot with the bind plug in the receiver.
              After the lights come on pull the bind plug out of the reveiver.
              Release the trainer switch.

              The receiver will now have memorized the failsafe settings your transmitter was sending at that time.

              Before you do all of this make sure all your wheels are stationairy so it will shut down completely once you switch off your transmitter.

              I use a dx5e with the 8 channel version receiver you have.
              Last edited by Niels - Team K.a.L.M.; 20 February 2014, 17:22.

              Comment


              • #67
                I'm interested to see how you'll develop the design of your machine.
                Square boxes don't have to be boring looking

                IMAG0170_zps6d2ca061.jpg

                Comment


                • #68
                  Like it
                  How much travel do the forks have?

                  Comment


                  • #69
                    10cm, but they only move due to gravity.
                    But this topic isn't meant to discuss my robot it's just an example.

                    Comment


                    • #70
                      The failsafe function is still not working properly, my transmitter doesn't have a trainer switch so i've tried to rebind, however if a motor and esc is plugged in on the throttle channel which is the stick on the left as soon as you turn of the transmitter the motor goes crazy, the only way i can get it to failsafe is put them both onto the right stick, this is a problem though because when it comes to putting the axe on the only channel i can put it through is the throttle channel, any ideas ?

                      Comment


                      • #71
                        Put the axe on rudder?

                        Comment


                        • #72
                          You could open up your transmitter and either wire in a toggle switch in place of the rudder channel (there is information available on how to do this) or add springs to the throttle stick so it pings back to centre and possible switch round the wires for throttle and rudder so the throttle stick becomes the rudder channel so fail safes. Finally you could add an external fail safe into the robot.

                          Comment


                          • #73
                            I've tried plugging the esc and drive motor into the rudder channel as a test and after some work with the trim buttons it does failsafe on that channel which is a relief, thanks for all the help

                            Comment


                            • #74
                              this is what I got from google:

                              MLP4DSM Binding Procedure
                              1. Disconnect the flight battery from the Quad-Copter. (read link and bot)
                              2. Center all trims on your transmitter. Refer to the transmitter control section for trim instructions.
                              3. Power off the transmitter and move the throttle stick to the down/off position. (in our case keep it centre for forward/backward control)
                              4. Connect the flight battery in the Quad-Copter. The LED on the 4-in-1 Control unit flashes after 5 seconds.
                              5. Push in and hold down the left stick while powering on the transmitter (you will hear a ‘click’). (I think you should swap step 4 and 5 out. try both just to be sure)
                              6. Release the left stick. The transmitter will beep and the power LED will blink.
                              7. The Quad-Copter is bound when the LED on the 4-in-1 control unit is solid blue (not blinking).
                              8. Disconnect the flight battery and power the transmitter off.

                              might be worth a try, cause you'll want all channels to failsafe.

                              Comment


                              • #75
                                Thanks for the info Niels, after a lot of trial and error i've managed to get the throttle channel to failsafe as well as all of the other channels, not really done much else today apart from making a battery mount/esc mount

                                Comment

                                Working...
                                X