 Tweet
Tweet
Re: Team Pasty Build Diary: Loki
Try to remove the mixer, if the problem dissapers, blame the cheap mixer.
The easiest way to add a power on led is by connecting it to one of the channels on the RX, but you will need to use a resistor too. Use this calculator to find what resistor you need. http://www.hebeiltd.com.cn/?p=zz.led...tor.calculator
Are you using the two red wires from the ESC's? If you are, remove one from the RX connector and use thermal tubing or electric tape to keep it from causing short-circuits.
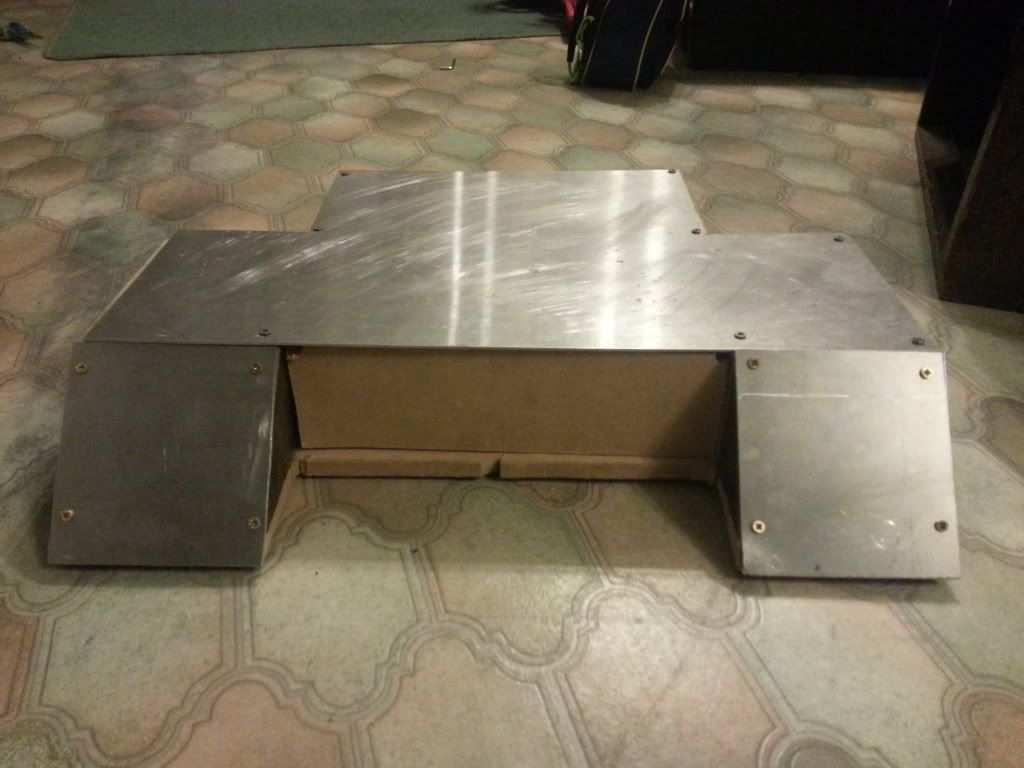
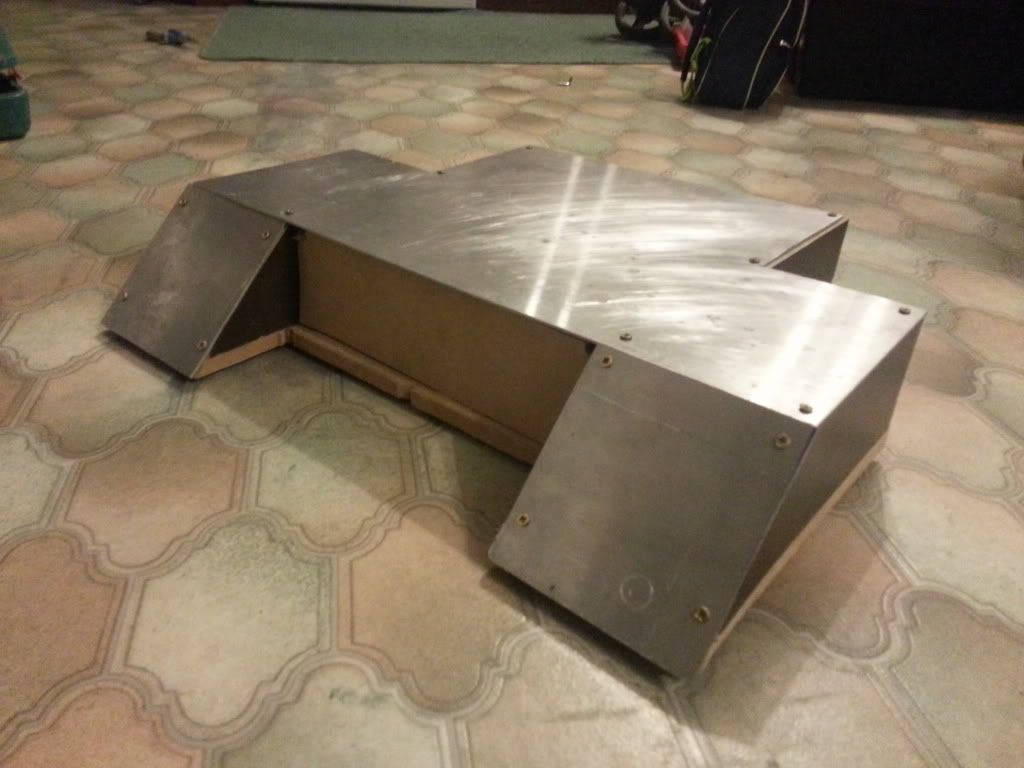
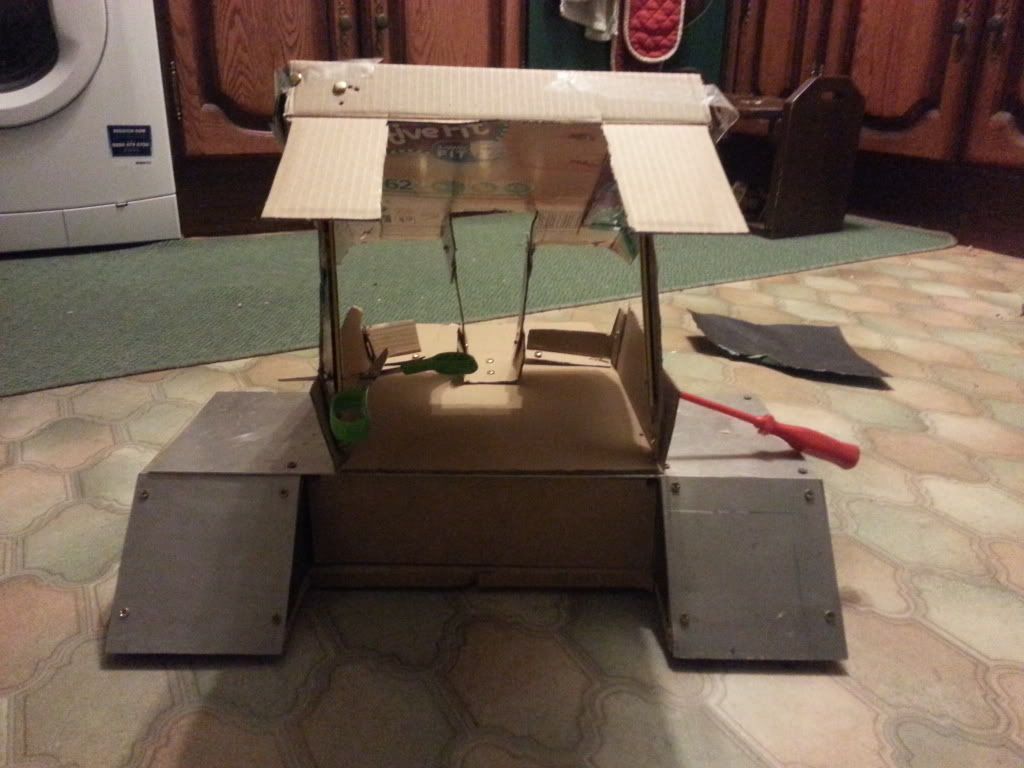
BTW, way waste alu making armor to a mockup?
Try to remove the mixer, if the problem dissapers, blame the cheap mixer.
The easiest way to add a power on led is by connecting it to one of the channels on the RX, but you will need to use a resistor too. Use this calculator to find what resistor you need. http://www.hebeiltd.com.cn/?p=zz.led...tor.calculator
Are you using the two red wires from the ESC's? If you are, remove one from the RX connector and use thermal tubing or electric tape to keep it from causing short-circuits.
BTW, way waste alu making armor to a mockup?


Comment