Announcement

Collapse
No announcement yet.

Skipdiving Robotics

Collapse
X
 
  • Filter
  • Time
  • Show
Clear All
new posts

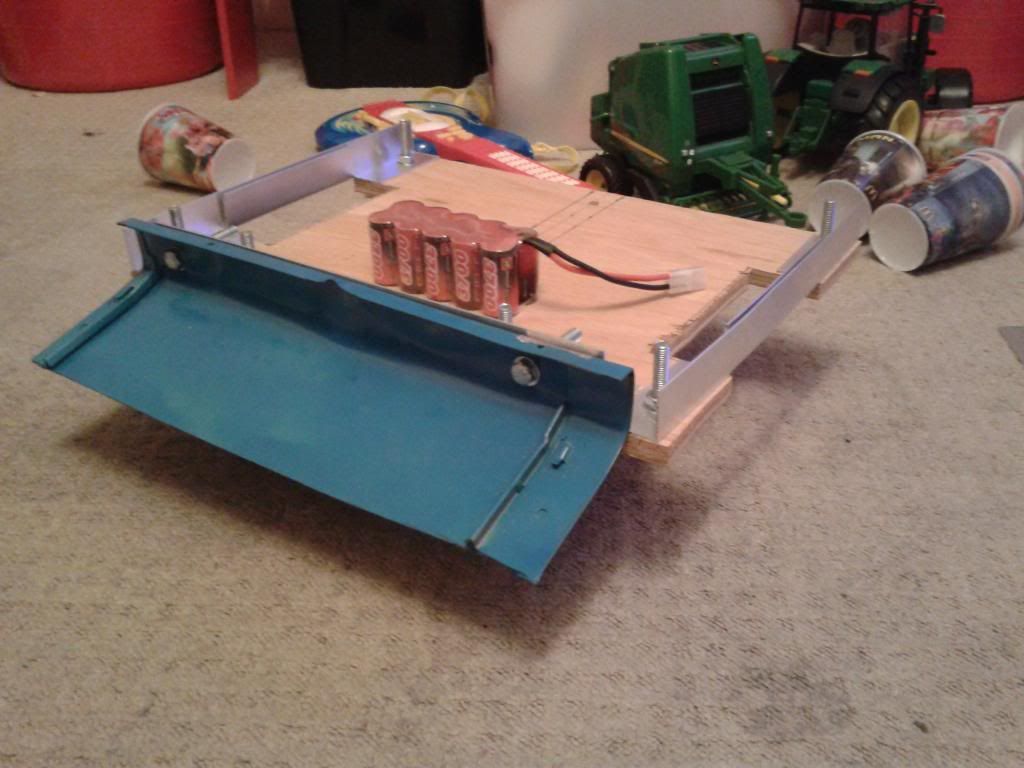
  • The charger I have was a fiver online and is an extremely basic trickle charger that will only charge up to 12V. The 10-cell NiMH packs are a lot cheaper that the other stuff and all the motors I have are 12V so thought well I'll stick with 12V for now.

    Edit: Razerdave just re-read your post. Originally I had 7.2V packs lay around as I race a lot of 1/10th RC stuff. The first robot ran 7.2V and was awful, so to speed up I simply cabled a couple of packs together to give 14.4V even though the running gear has always been 12V

    Comment


    • Found some pictures from Doncaster '13


      Comment


      • Also...made robot progress!!


        Last edited by daveimi; 20 February 2014, 12:17.

        Comment


        • Am desperate to update this, I have no pictures to put up but will by the end of the weekend. We've all been hammering and sawing for 6 months only to realise that our original Rag N Bone was the best we could come up with. We all think that the reason some robots are so successful is because they come back year on year as a development of the same design, rather than keep trying to come up with something new. To this end we've started building Rag N Bone 2 and in fact I spent £100 today on new parts. These have included some new drill motors and mountings, a fresh 12v pack from component shop, and also a propper bonafide fail safe.

          We're going to start building this weekend, sort of the same design as the original but a bit faster (12V as opposed to 7.2V) and heavier, thicker armour, some new wheels, better wiring, fresh link, new super bright LED, huge 3700mah pack, fresh shock mounts, the list goes on and on. We're going to spray it black the same as last time, and again use found parts to put it together. I was desperate to update this as a sanity check and am going to be signing up Monday for everywhere that will have us. Not gonna do the Champs as we'll get ripped to bits, but going to get back in action for 2014.

          Thanks for reading, will come back with pictures in a day or two.

          Dave

          Comment


          • Rag N Bone 2 chassis done! Took about half an hour haha that's really bad! Am going to chuck the running gear in this week with the new battery. Need to make a fresh top cover and bolt that on and we're ready to fight!


            Last edited by daveimi; 18 March 2014, 22:15.

            Comment


            • Dave, if you're still wanting to make your own wheels, check out www.insructables.com
              Search for 'making wheels', and click on the one with a pic of some blue wheels that look like banbots ones.
              Hope this helps
              (Rag n bone 2 looks great by the way)

              Comment


              • Cheers! Have been experimenting with home made wheels tightened onto M8 bolts and trapped in a drill chuck! Not very scientific but it seems to be working. I have some Robochallenge wheels left so am finishing developing "Dave Wheels" hopefully to be seen on Rag N Bone 3 lol in the distant future!

                Comment


                • No problem

                  Comment


                  • We now gotz a scoop instead of a spike!


                    Comment


                    • Nice!

                      Comment


                      • Screwed down the motors tonight whilst watching the telly. I'm going to put the electrics in next and make the lid and we're ready to go. I'm planning on not painting it so it looks completely ramshackle and thrown together (which it is).


                        Comment


                        • I like the idea, the scrap concept reminds me of Krayzee Tokyo from series 1.

                          Comment


                          • Erm got the baseplate back from CNC, added a ti back barrier and some electrics. I need to cable it up and get the CNC machine (hammer + step) to knock out a fresh lid. I'm experimenting with a roll cage like top instead of a solid plate top. It's a lot easier for CNC to make so I may end up going with that, it'd look mega ramshackle which i utterly love.


                            Comment


                            • Originally posted by daveimi View Post
                              Erm got the baseplate back from CNC, added a ti back barrier and some electrics. I need to cable it up and get the CNC machine (hammer + step) to knock out a fresh lid. I'm experimenting with a roll cage like top instead of a solid plate top. It's a lot easier for CNC to make so I may end up going with that, it'd look mega ramshackle which i utterly love.
                              LOL
                              CNC, aka, a hammer

                              Comment


                              • Yeah the CNC Department are saying they need a new back step now. Only just bought them a hammer, dead ungrateful they are.

                                Comment

                                Working...