 Tweet
Tweet
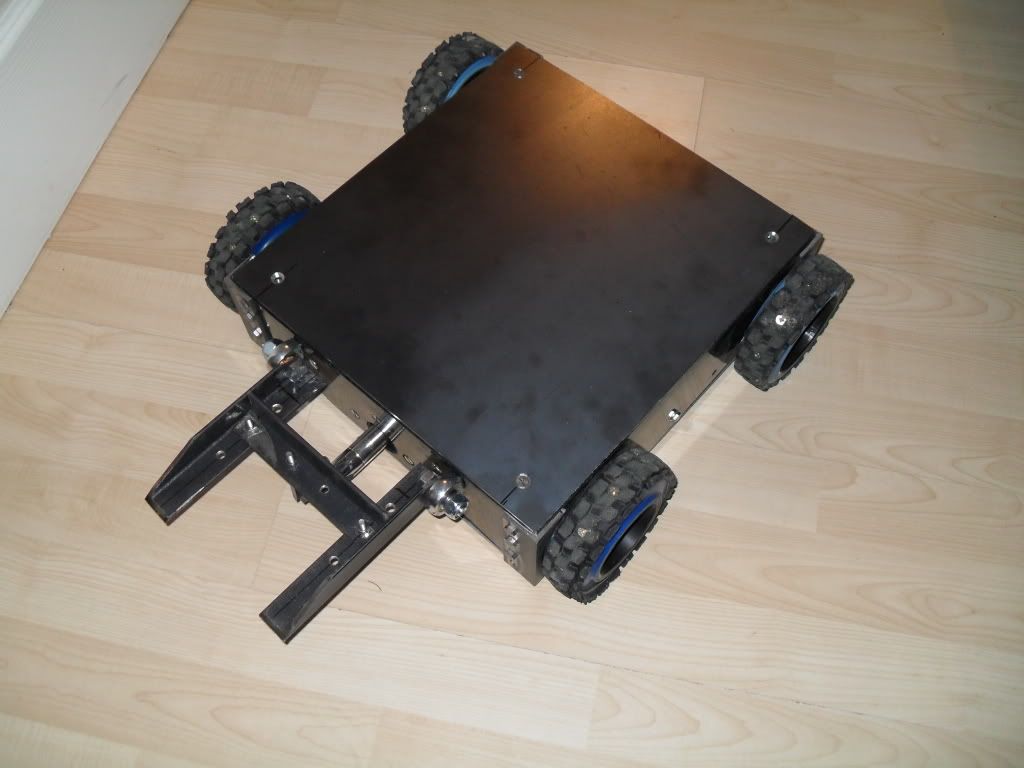
Well this was Spur. It was my first featherweight and in general happy with it
Good points
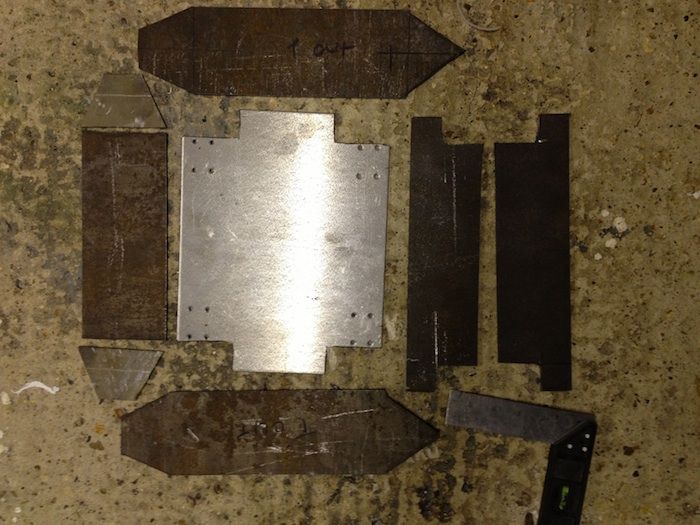
- Chassis was solid. It used 10mm HDPE but the corners were joined with angle iron and had a 3mm base. You didn't want to drop it on your toe!
- Traction. It used 4 drill motors with 100mm blue wheels with mountain bike tyre. The tyre had a nice open tread and wear rate was low
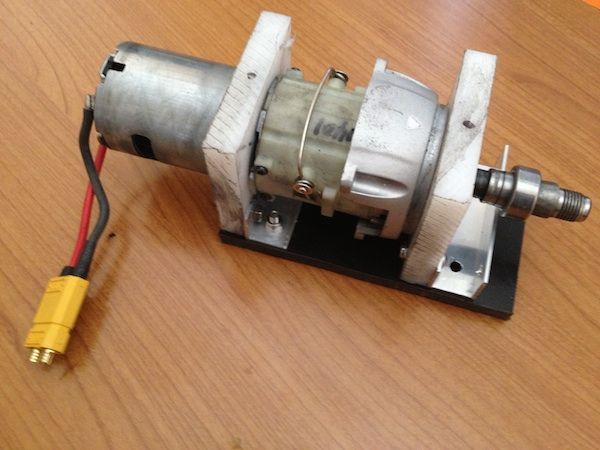
- Its a lifter and the linear actuator was very powerful
Bad points
- The wheels were exposed so vulnerable. It got slipped once landing on a wheel wrecking the gearbox
- Linear actuators have no give. So landing on the forks meant the forces had to go somewhere. Generally into bending the forks
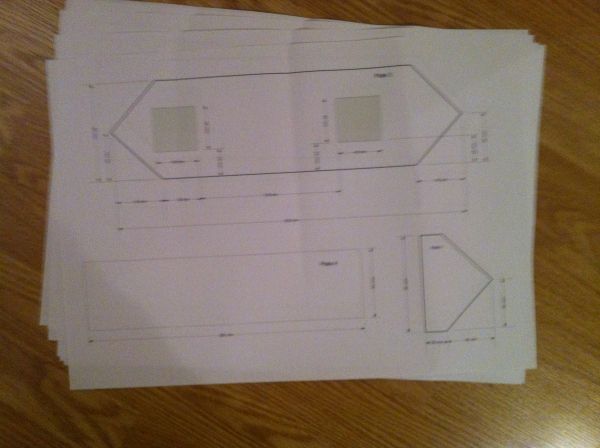
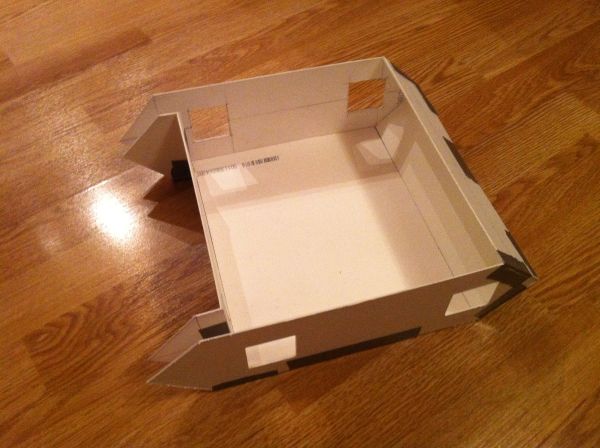
So after getting my axe robot into a working state, and learning a bunch from steel chassis bots, I have decided to build a new Spur imaginatively called Spur II
I wanted to keep the bot nice and small. This allows me to use weight in a more flexible manner.
Key objectives
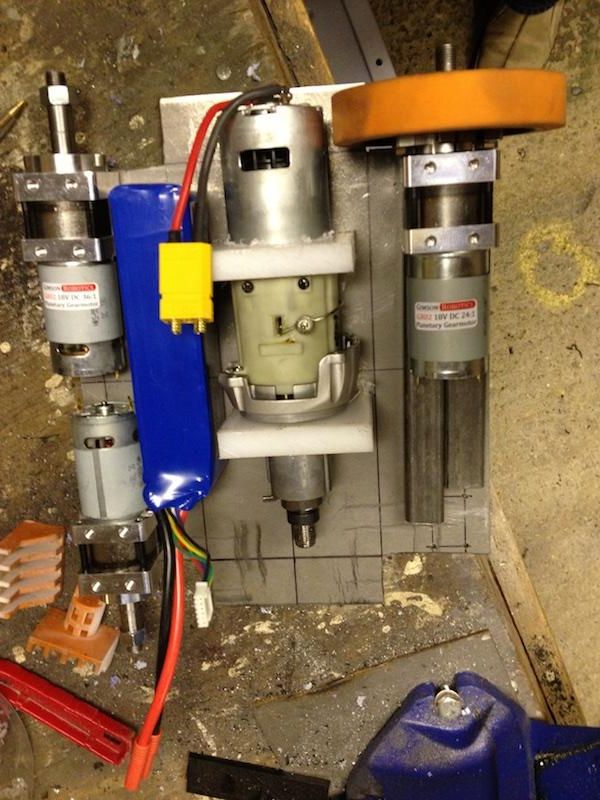
- good traction
- protected wheels
- strong lift but able to withstand shocks i.e. flips
- able to go full combat
Good points
- Chassis was solid. It used 10mm HDPE but the corners were joined with angle iron and had a 3mm base. You didn't want to drop it on your toe!
- Traction. It used 4 drill motors with 100mm blue wheels with mountain bike tyre. The tyre had a nice open tread and wear rate was low
- Its a lifter and the linear actuator was very powerful
Bad points
- The wheels were exposed so vulnerable. It got slipped once landing on a wheel wrecking the gearbox
- Linear actuators have no give. So landing on the forks meant the forces had to go somewhere. Generally into bending the forks
So after getting my axe robot into a working state, and learning a bunch from steel chassis bots, I have decided to build a new Spur imaginatively called Spur II
I wanted to keep the bot nice and small. This allows me to use weight in a more flexible manner.
Key objectives
- good traction
- protected wheels
- strong lift but able to withstand shocks i.e. flips
- able to go full combat


Comment